> ## Documentation Index
> Fetch the complete documentation index at: https://docs.vizcom.com/llms.txt
> Use this file to discover all available pages before exploring further.
# Drawing in Vizcom
Drawing directly in Vizcom gives you more control over your renders and a faster path from idea to visual. Every line you add helps guide the result, allowing you to refine, adjust, and explore in real time.
Sketch, edit, and iterate without leaving the canvas.
Use your preferred drawing setup, whether that is an iPad, display tablet, stylus, or mouse. For an even faster workflow, explore our keyboard shortcuts.
## **Why Draw Inside Vizcom?**
Drawing in Vizcom lets you:
* Refine form and proportion before rendering
* Guide material and surface details with precision
* Make quick changes without restarting your generation\
Stay in a fluid back-and-forth between sketch and render
Instead of starting from a blank prompt, your drawing defines the form, proportion, and direction of the render.
## **Core Drawing Tools**
Vizcom’s tools are designed to feel familiar while keeping you in control.
### **Brush - Keyboard shortcut \[B]**
Start with the Brush tool to create line drawings and detailed sketch work
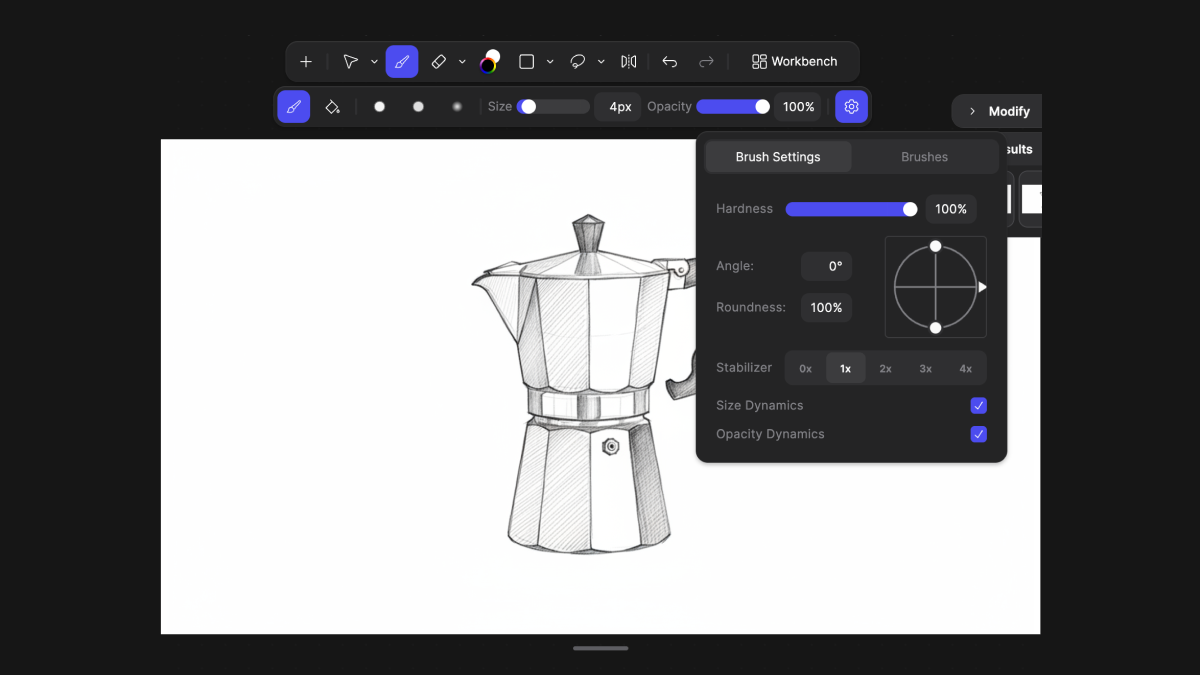 By default, the brush is set up for clean line drawing, but you can adjust:
* Brush size
* Opacity
* Color
Modify settings from the top toolbar or by right-clicking on the canvas.
Hold **Shift** while drawing to create straight lines. Lines will snap horizontally, vertically, or at 45° angles.
### Paint Bucket
Use the Paint Bucket to quickly fill enclosed line work with a selected color. You can find the Paint Bucket tool under the brush.
By default, the brush is set up for clean line drawing, but you can adjust:
* Brush size
* Opacity
* Color
Modify settings from the top toolbar or by right-clicking on the canvas.
Hold **Shift** while drawing to create straight lines. Lines will snap horizontally, vertically, or at 45° angles.
### Paint Bucket
Use the Paint Bucket to quickly fill enclosed line work with a selected color. You can find the Paint Bucket tool under the brush.
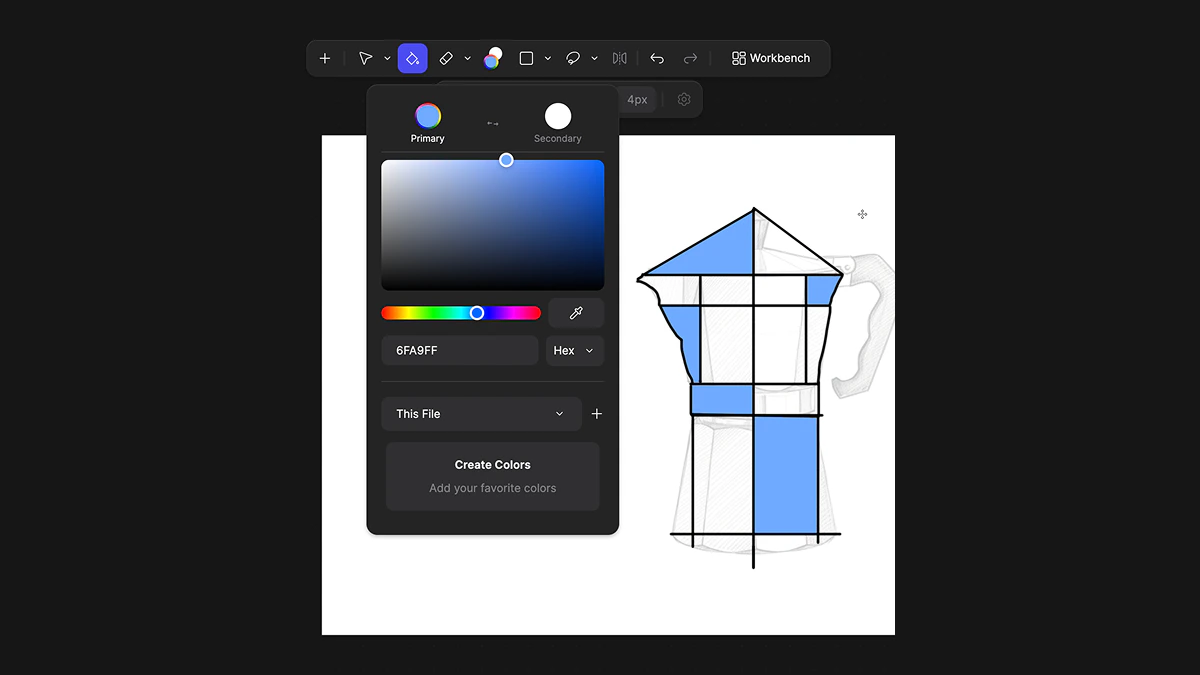 This is ideal for blocking in surfaces, defining materials, or quickly testing colorways before rendering.
### Eraser - Keyboard shortcut \[E]
The Eraser works just like the Brush, allowing you to remove unwanted strokes with precision.
This is ideal for blocking in surfaces, defining materials, or quickly testing colorways before rendering.
### Eraser - Keyboard shortcut \[E]
The Eraser works just like the Brush, allowing you to remove unwanted strokes with precision.
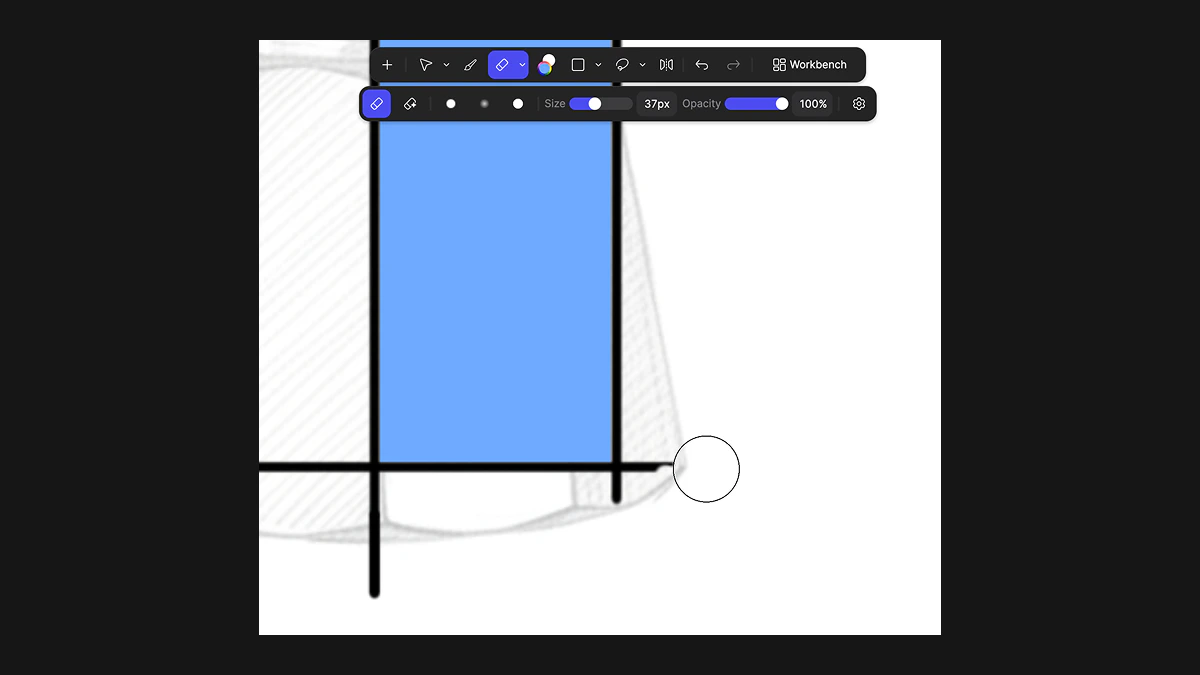 Use it to clean up edges, adjust silhouettes, or refine proportions without disrupting your workflow.
## Shape Tools
**Keyboard shortcuts:**
* **Box \[I]**
* **Ellipse \[O]**
* **Line \[L]**
For a more structured or technical approach, use Shape tools Box, Ellipse, and Line. These tools are helpful for:
* Constructive sketching
* Blocking out proportions
* Creating clean geometry
* Defining perspective guides
Use it to clean up edges, adjust silhouettes, or refine proportions without disrupting your workflow.
## Shape Tools
**Keyboard shortcuts:**
* **Box \[I]**
* **Ellipse \[O]**
* **Line \[L]**
For a more structured or technical approach, use Shape tools Box, Ellipse, and Line. These tools are helpful for:
* Constructive sketching
* Blocking out proportions
* Creating clean geometry
* Defining perspective guides
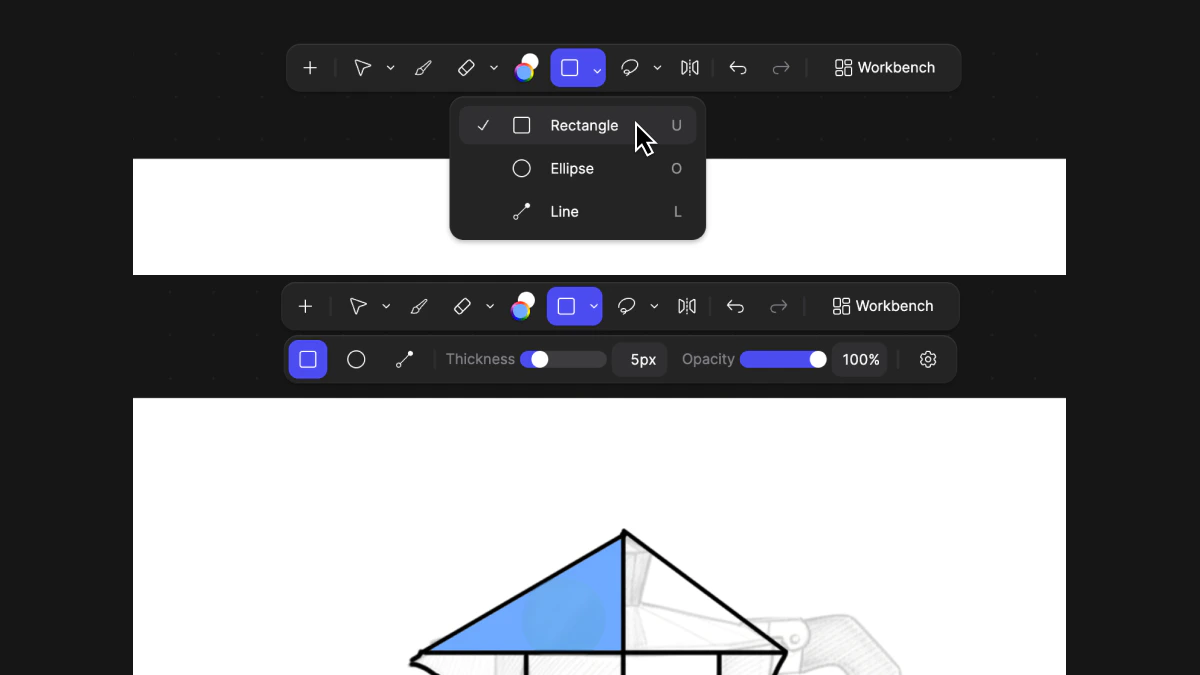 Combine shapes with brushwork to balance precision and expression.
## Transform and Adjust
### Move Tool - Keyboard shortcut \[M]
Use the Move tool to:
* Scale layers
* Rotate elements
* Reposition sketches
Combine shapes with brushwork to balance precision and expression.
## Transform and Adjust
### Move Tool - Keyboard shortcut \[M]
Use the Move tool to:
* Scale layers
* Rotate elements
* Reposition sketches
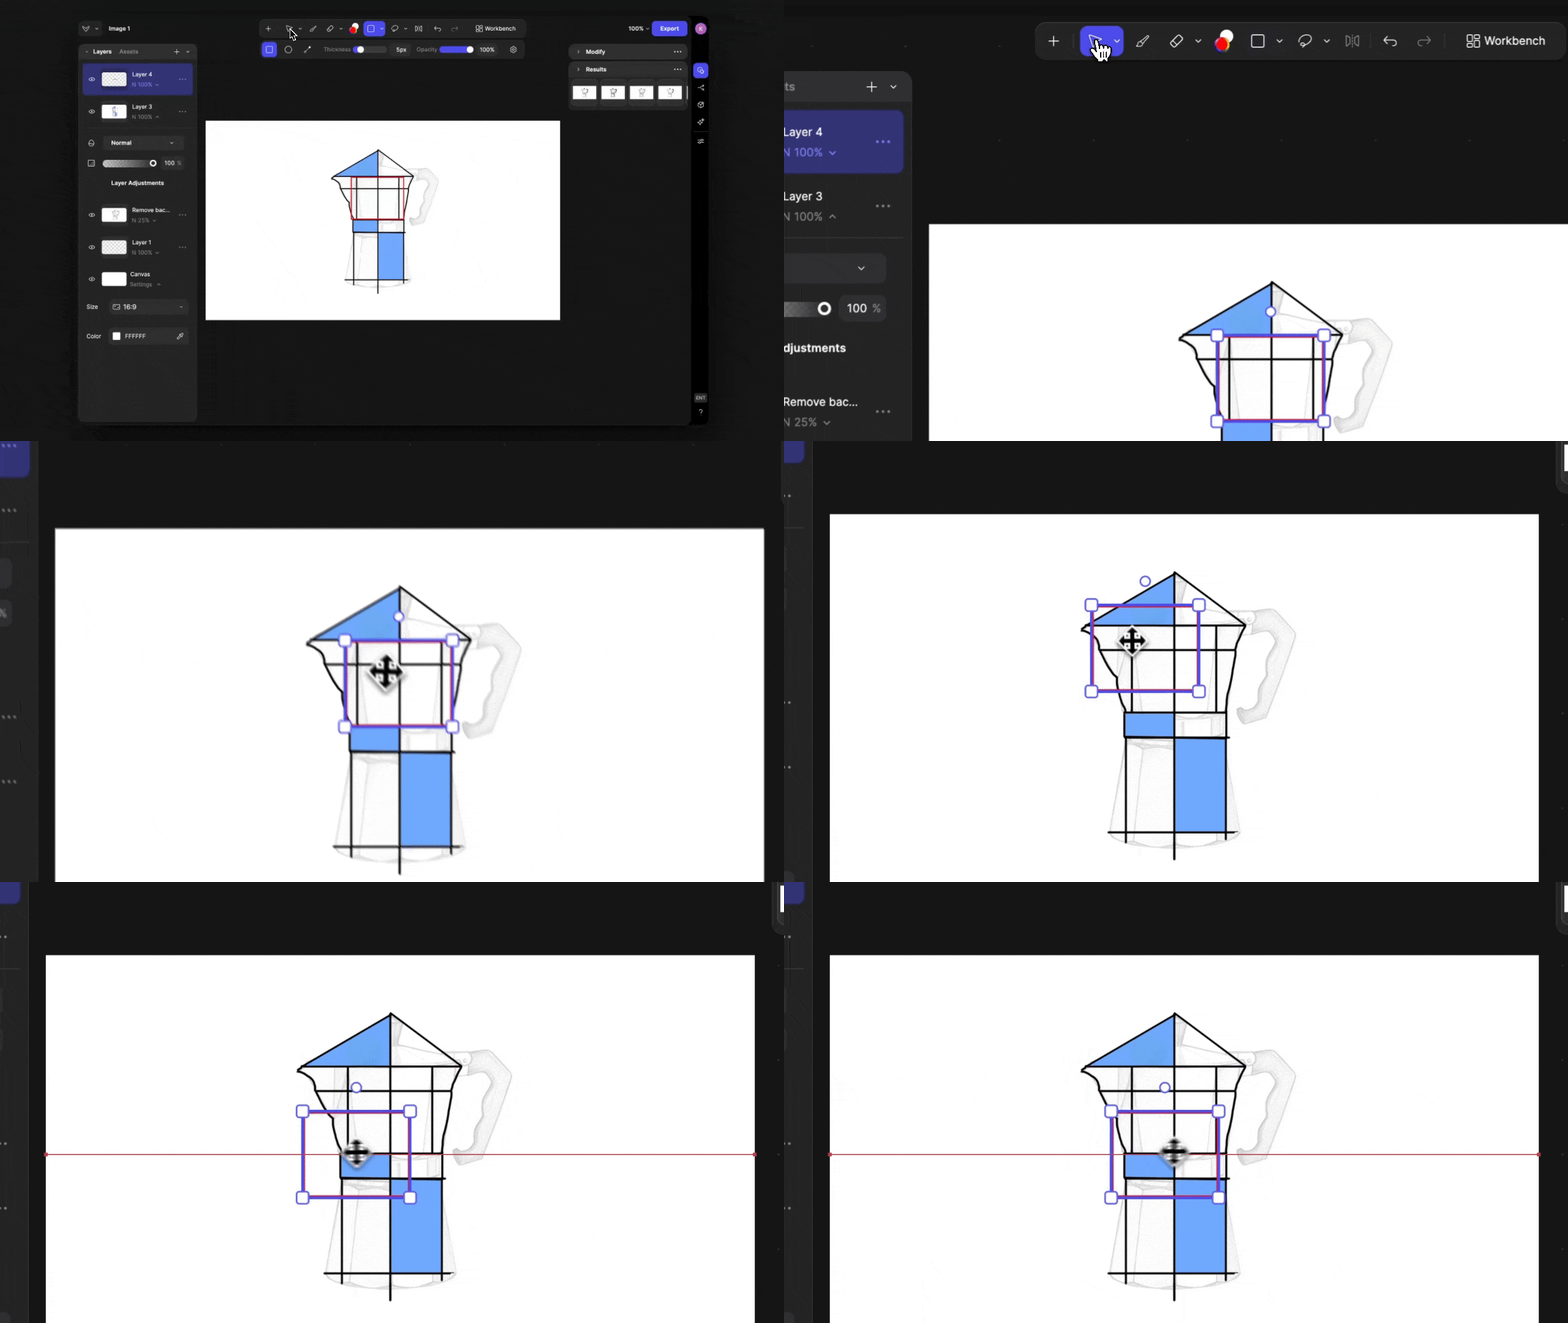 When the transform tool is active, you can right-click to select layers and adjust specific parts of your design.
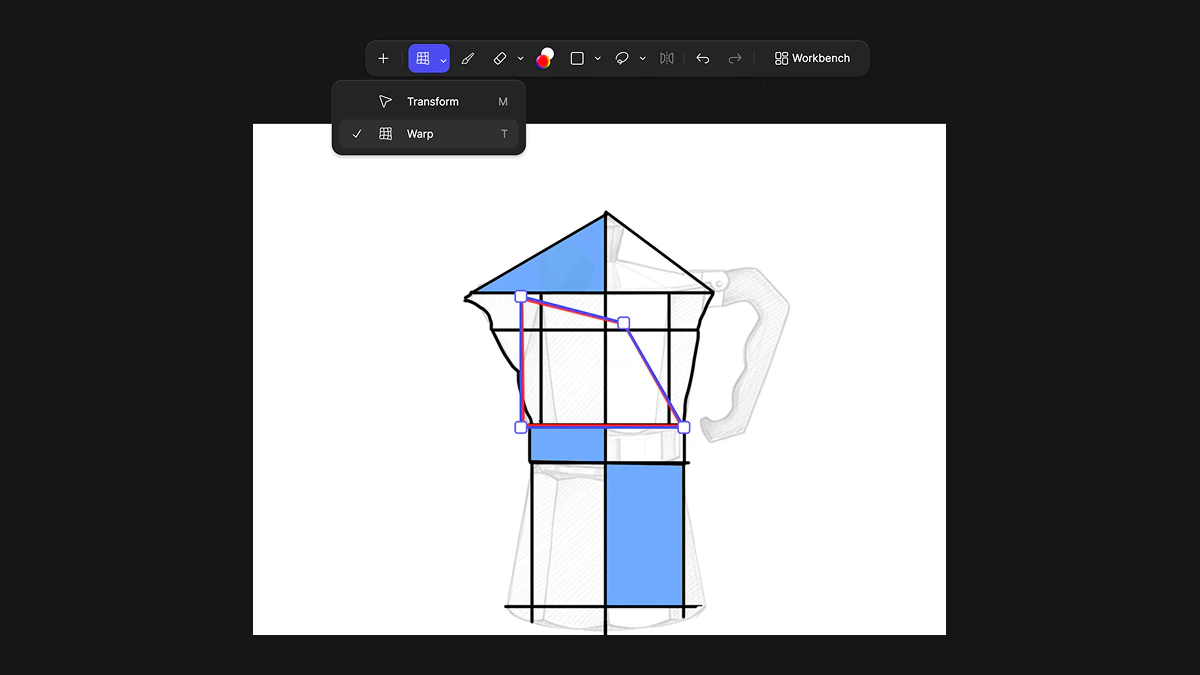
### Warp Tool - Keyboard shortcut \[T]
The Warp tool lets you adjust proportions by tilting or reshaping layers.
Use it to:
* Refine perspective\
Adjust stance or posture
* Experiment with form without redrawing
When the transform tool is active, you can right-click to select layers and adjust specific parts of your design.
### Warp Tool - Keyboard shortcut \[T]
The Warp tool lets you adjust proportions by tilting or reshaping layers.
Use it to:
* Refine perspective\
Adjust stance or posture
* Experiment with form without redrawing
 ## Symmertry Tool
The Symmetry tool allows you to draw mirrored strokes automatically.
Perfect for:
* Footwear
* Vehicles
* Helmets
* Any balanced product design
## Symmertry Tool
The Symmetry tool allows you to draw mirrored strokes automatically.
Perfect for:
* Footwear
* Vehicles
* Helmets
* Any balanced product design
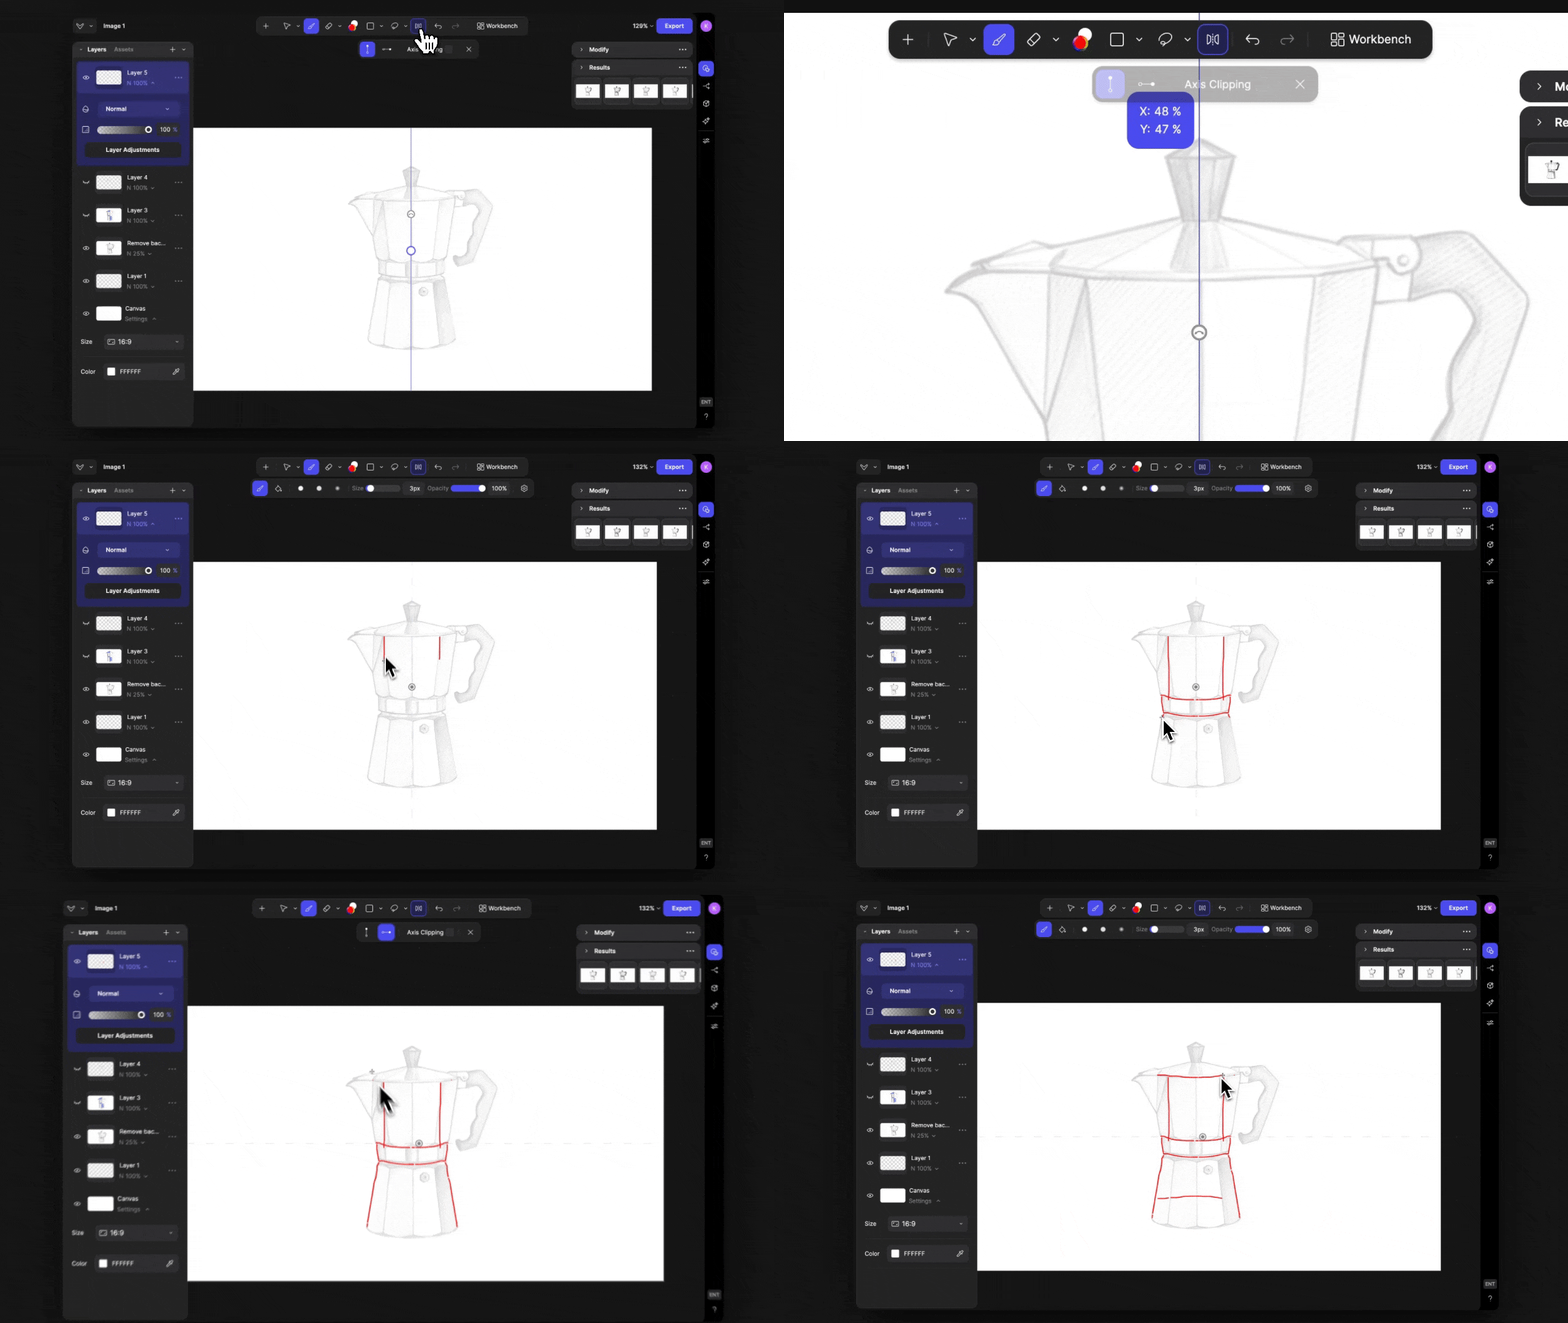 Draw once and see both sides update instantly.
### Selection Tools - Keyboard shortcut \[G]
Selection tools give you more control over specific areas of your sketch.
Choose from:
* Lasso
* Brush Selection
* Bezier
* Automatic Selection
Draw once and see both sides update instantly.
### Selection Tools - Keyboard shortcut \[G]
Selection tools give you more control over specific areas of your sketch.
Choose from:
* Lasso
* Brush Selection
* Bezier
* Automatic Selection
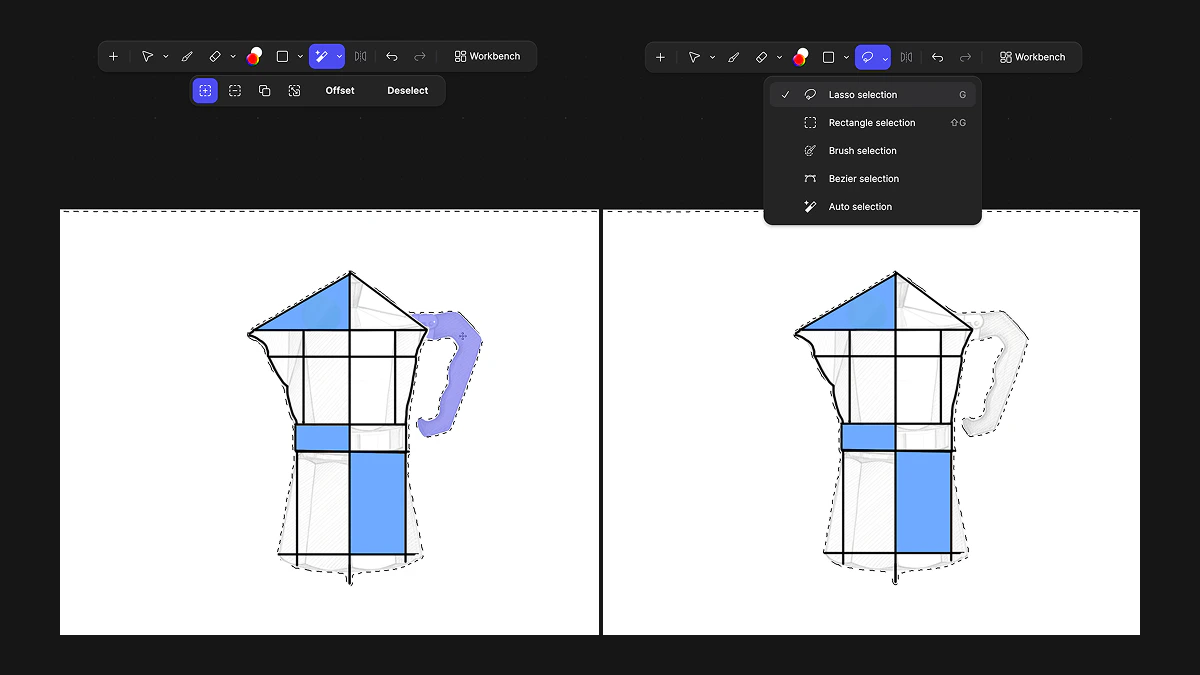 Use selections to:
* Isolate areas for editing
* Adjust proportions
* Apply targeted changes
* Guide rendering influence
Mastering selection tools helps you iterate faster without starting over.
## Tips for working with Vizcom drawing tools
Each drawing tool in Vizcom has a dedicated keyboard shortcut to help you move quickly between actions without breaking your flow.
Here are the primary tool shortcuts:
| Tool | Key |
| --------------- | --- |
| Brush | B |
| Eraser | E |
| Move | M |
| Skew | T |
| Selection Tools | G |
| Box | I |
| Ellipse | O |
| Line | L |
Press the corresponding key at any time to instantly switch tools.
Using shortcuts keeps your workflow fluid, especially when refining sketches and iterating rapidly between drawing, editing, and transforming.
We are continuously expanding Vizcom’s drawing capabilities to support a complete sketch-to-render workflow inside one environment.
## Next Steps
* **Use Selection Tools to make edits:** Select, adjust, and transform specific parts of your design with precision. Fine-tune proportions, isolate areas for rendering, and iterate with intention.
* Explore **Render Mode:** Transform your sketch into a polished concept.
Use selections to:
* Isolate areas for editing
* Adjust proportions
* Apply targeted changes
* Guide rendering influence
Mastering selection tools helps you iterate faster without starting over.
## Tips for working with Vizcom drawing tools
Each drawing tool in Vizcom has a dedicated keyboard shortcut to help you move quickly between actions without breaking your flow.
Here are the primary tool shortcuts:
| Tool | Key |
| --------------- | --- |
| Brush | B |
| Eraser | E |
| Move | M |
| Skew | T |
| Selection Tools | G |
| Box | I |
| Ellipse | O |
| Line | L |
Press the corresponding key at any time to instantly switch tools.
Using shortcuts keeps your workflow fluid, especially when refining sketches and iterating rapidly between drawing, editing, and transforming.
We are continuously expanding Vizcom’s drawing capabilities to support a complete sketch-to-render workflow inside one environment.
## Next Steps
* **Use Selection Tools to make edits:** Select, adjust, and transform specific parts of your design with precision. Fine-tune proportions, isolate areas for rendering, and iterate with intention.
* Explore **Render Mode:** Transform your sketch into a polished concept.