> ## Documentation Index
> Fetch the complete documentation index at: https://docs.vizcom.com/llms.txt
> Use this file to discover all available pages before exploring further.
# Studio Refresh
## The new Vizcom Studio experience
A redesigned Studio built for flexibility, speed, and seamless creative flow.
## When to use Vizcom Studio
The new Vizcom Studio experience introduces a more powerful and customizable workspace for focused design work.
Studio is where you refine, sketch, layer, and run AI workflows in a structured environment. Compared to Workbench, which functions more like a whiteboard for exploration, Studio is optimized for detailed iteration within a layer based system.
Access Studio from Workbench by:
* Double clicking an image
* Selecting an image and clicking the Edit button above it
Use Studio when you want tighter control, layered edits, and a more focused creative workflow.
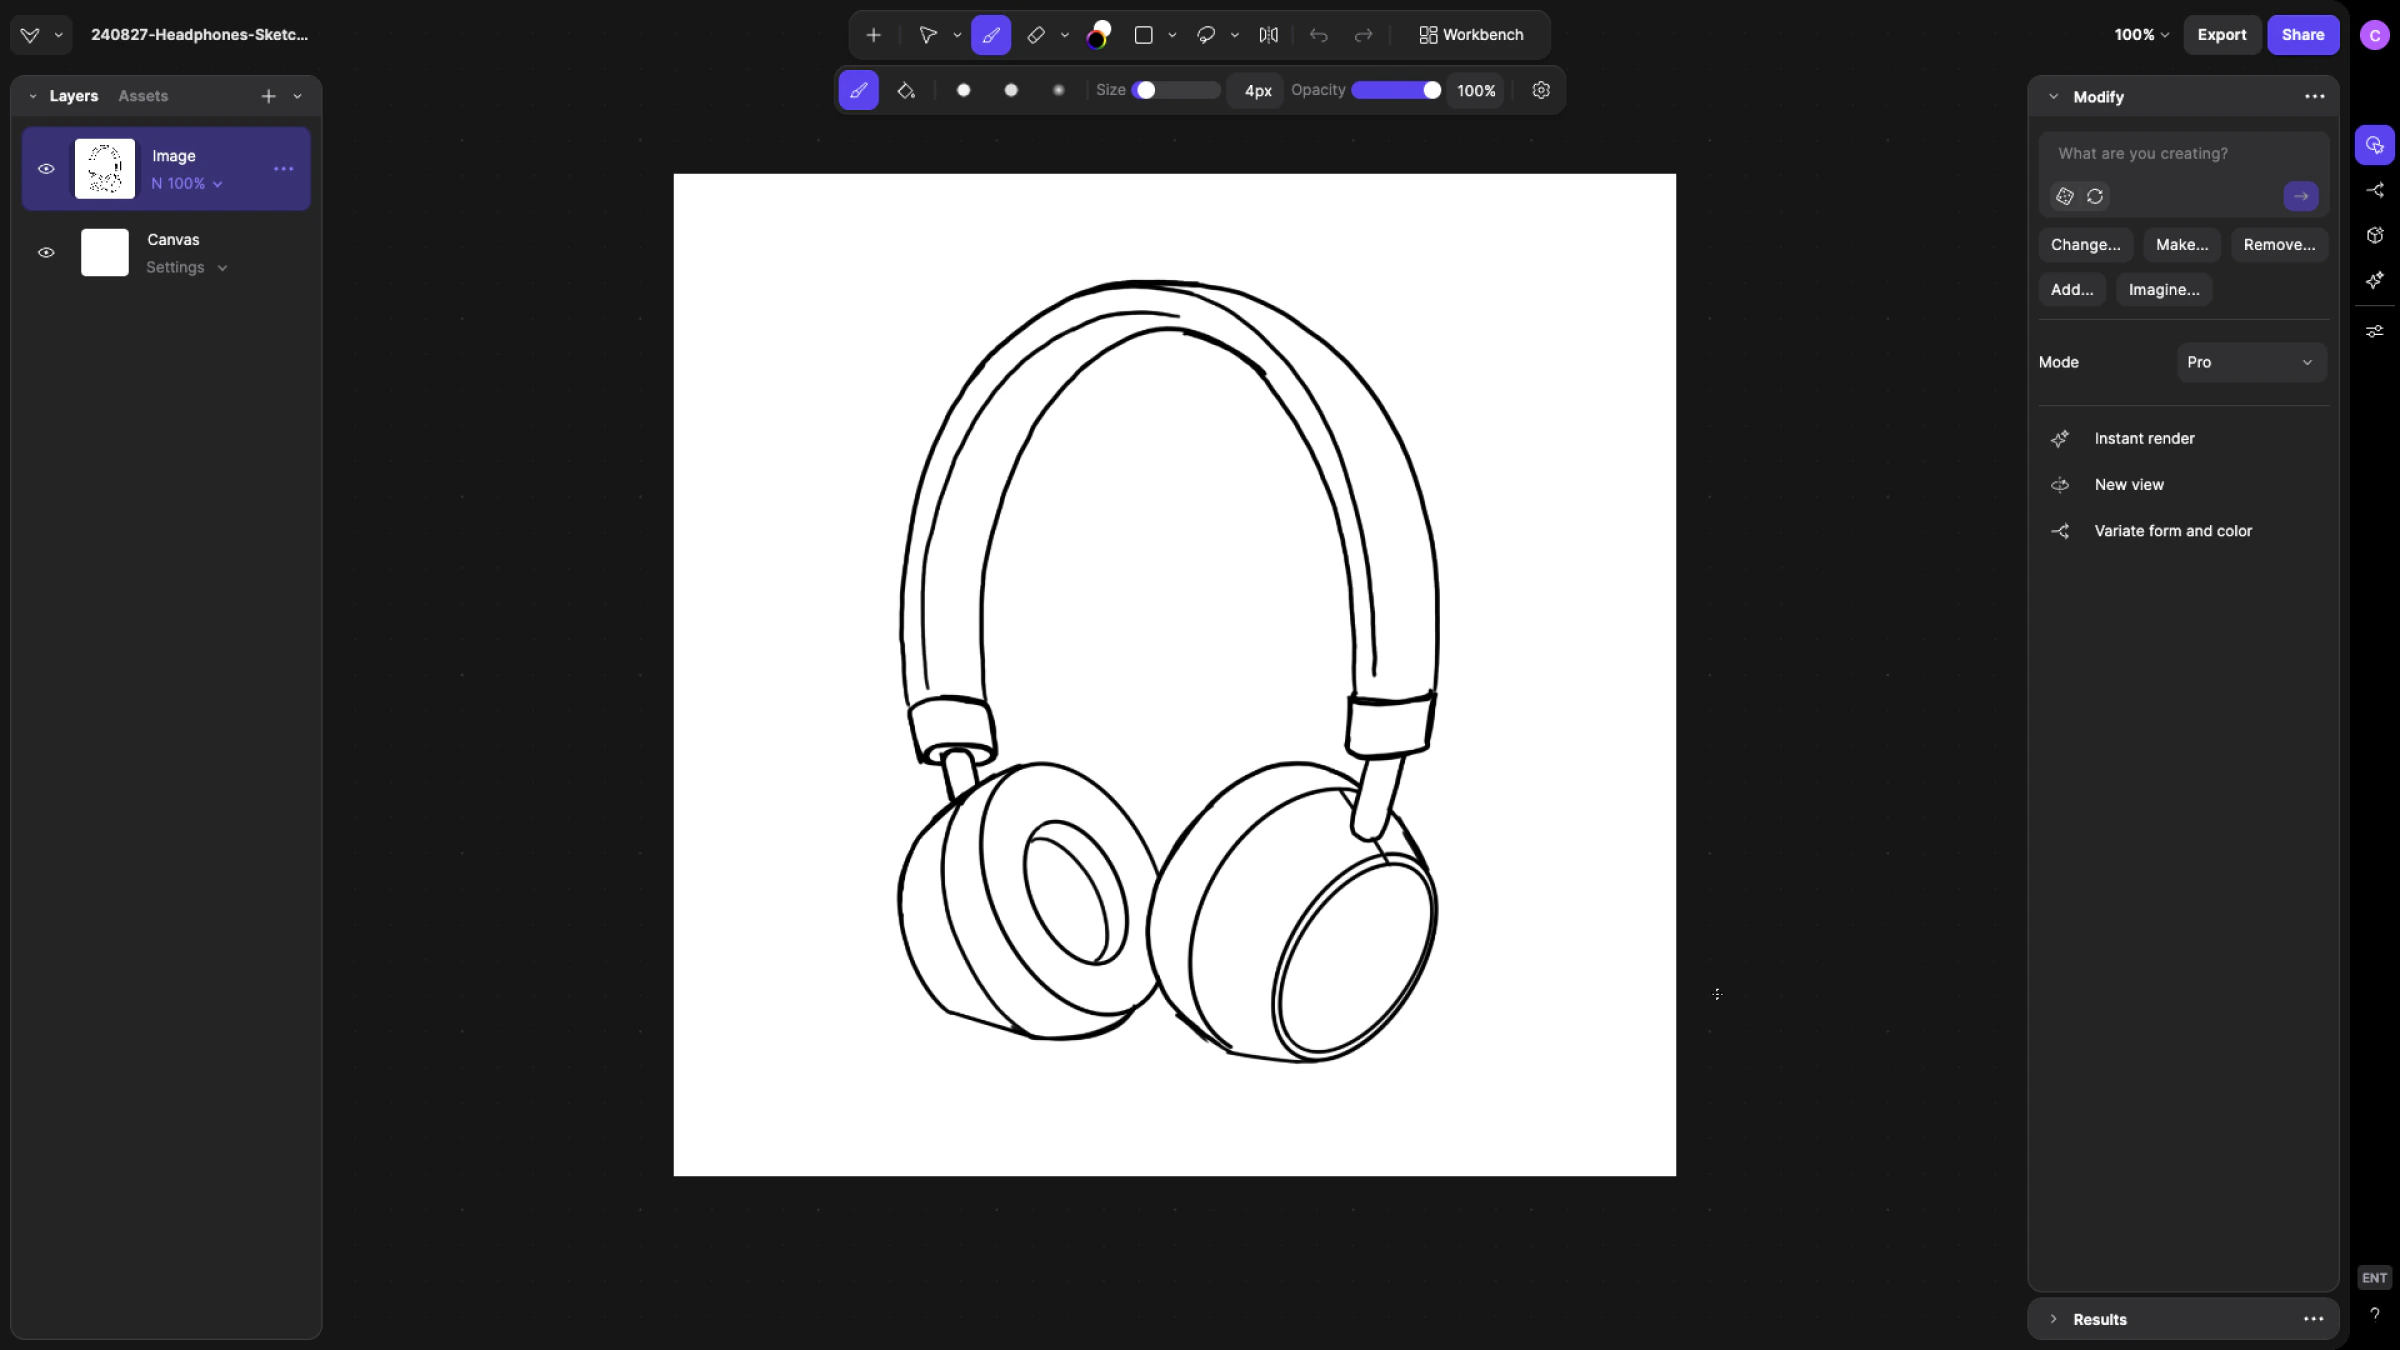
## How to use Vizcom Studio
Entering Studio:
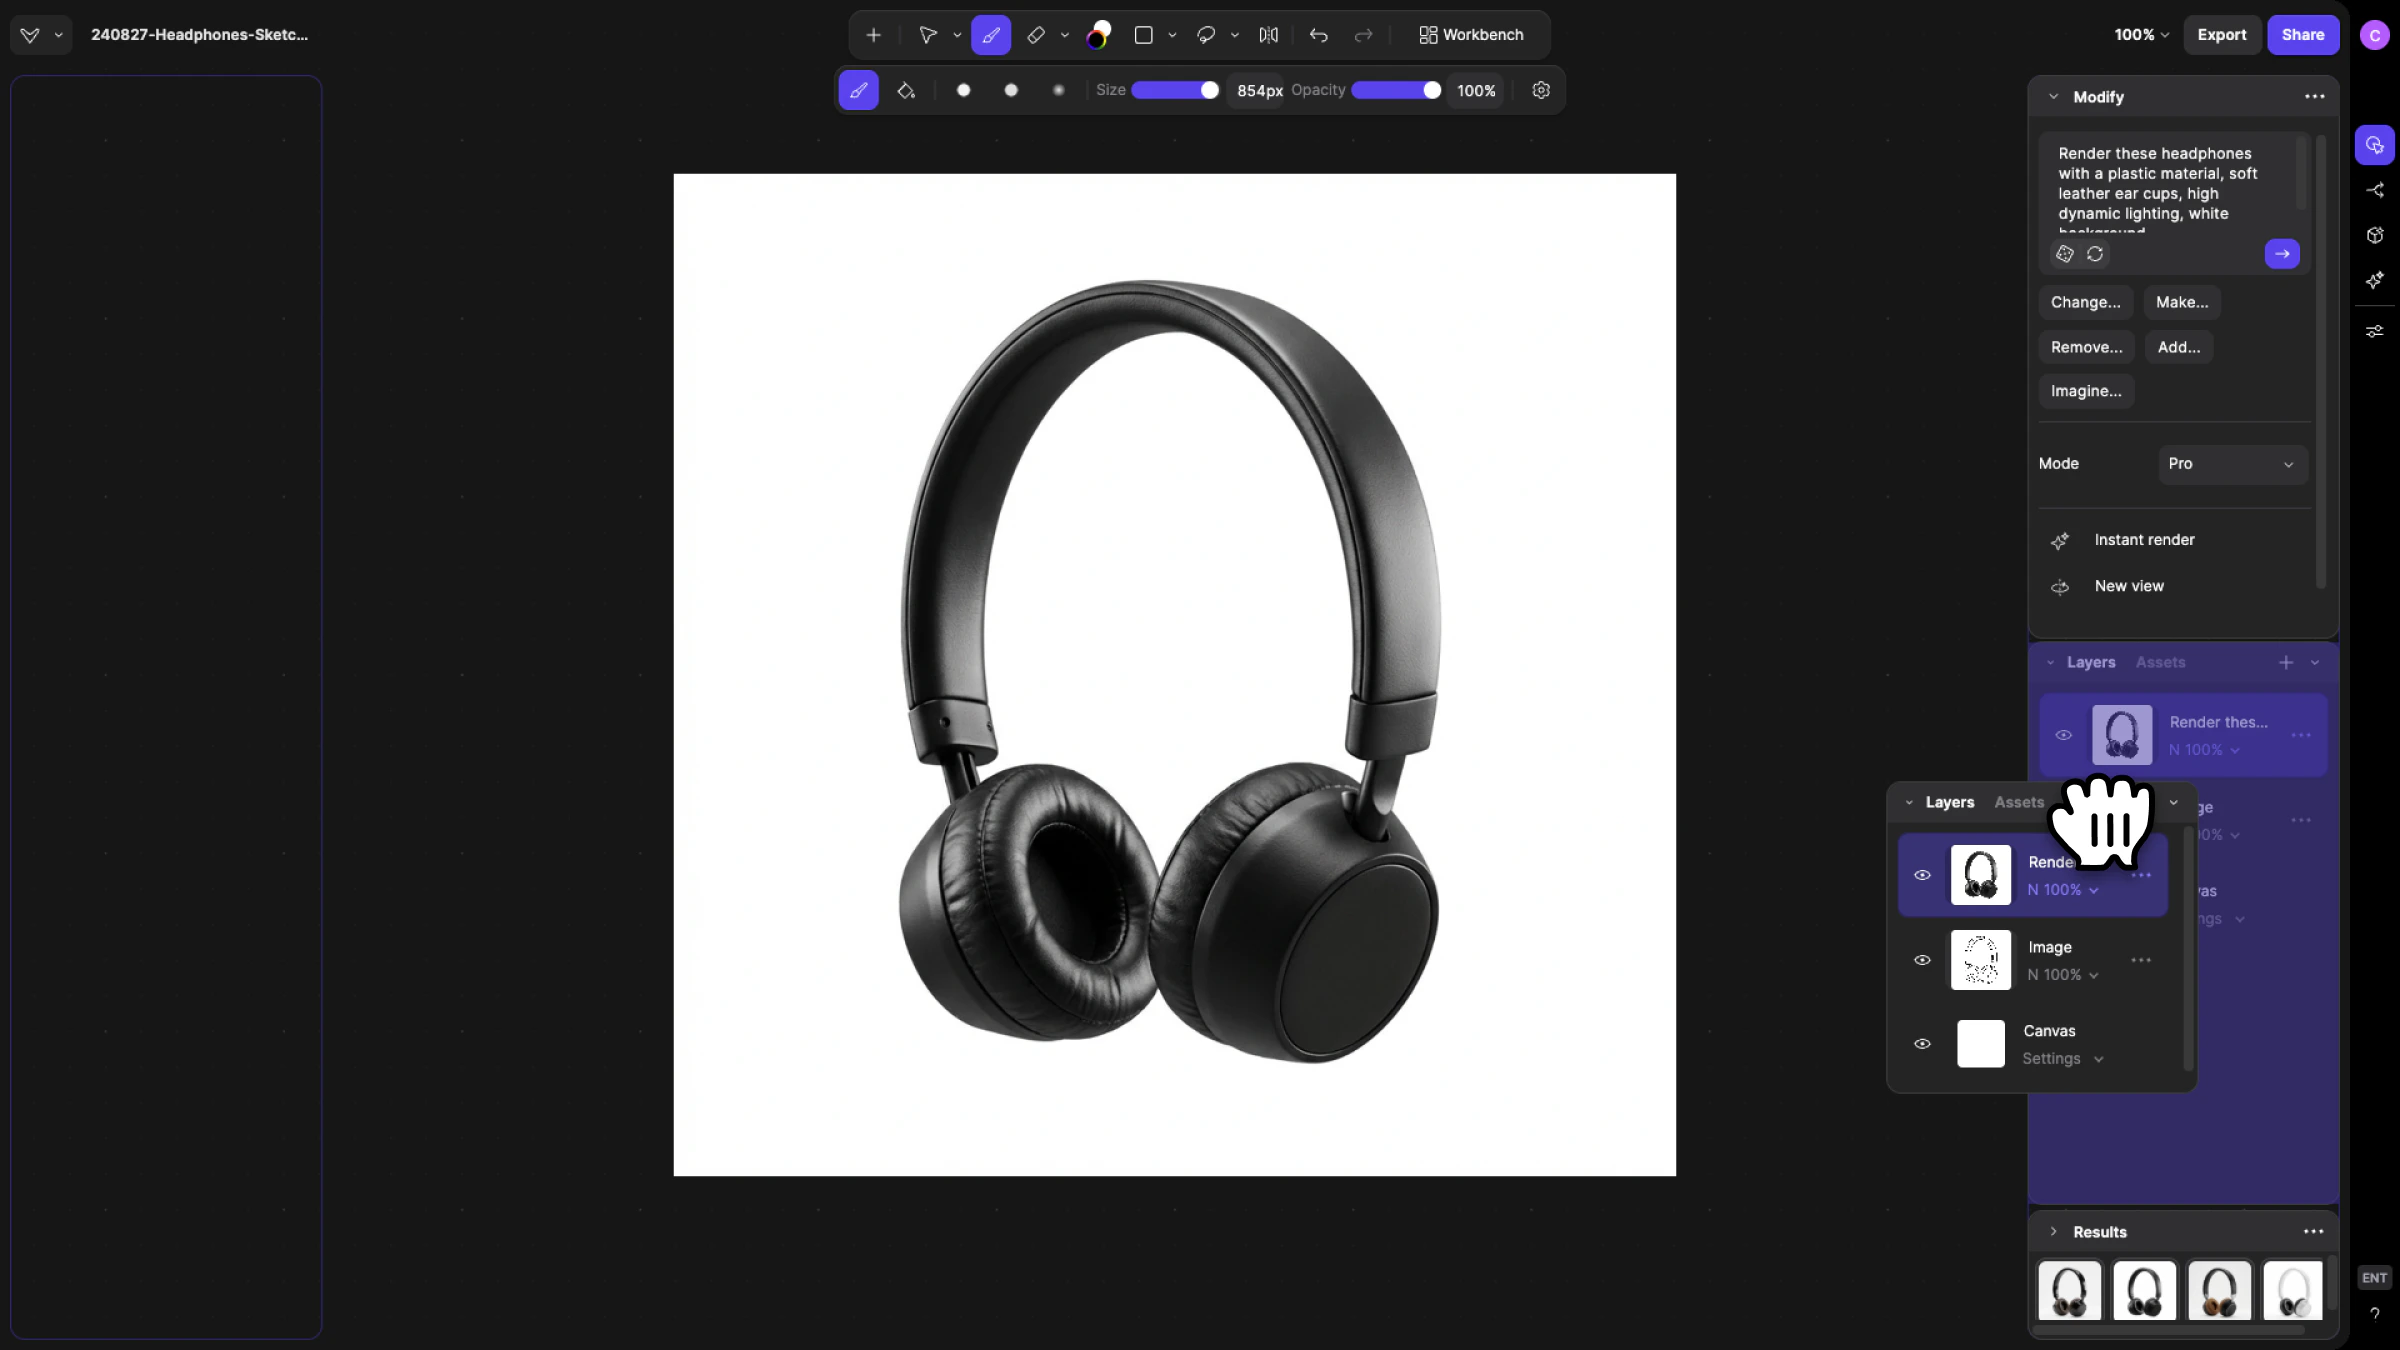
 Customizing your workspace:
 ## Core Features
### Flexible Layouts
Available layout modes:
1. Default
1. Standard layout with all key panels visible
2. Stacked
1. Panels condensed into a single vertical stack
2. Ideal for smaller screens or focused workflows
3. Panels can be collapsed when not in use
3. Custom
1. Fully personalize your setup
2. Resize, collapse, or reposition panels anywhere in Studio
### **Centralized AI Workflow Panel**
All AI workflows are now located in one unified sidebar for faster access and easier discovery.
How to use the AI Workflow panel:
* Modify — generate visuals from sketches, text, or references
* Variate — explore multiple design alternatives
* Make 3D — convert 2D sketches into 3D visualizations
* Create — legacy render & refine workflows
* Adjust — fine tune material, lighting, or rendering properties
### **Results Panel**
The Results Panel allows you to monitor AI generations without interrupting your workflow.
How to use the Results Panel:
## Core Features
### Flexible Layouts
Available layout modes:
1. Default
1. Standard layout with all key panels visible
2. Stacked
1. Panels condensed into a single vertical stack
2. Ideal for smaller screens or focused workflows
3. Panels can be collapsed when not in use
3. Custom
1. Fully personalize your setup
2. Resize, collapse, or reposition panels anywhere in Studio
### **Centralized AI Workflow Panel**
All AI workflows are now located in one unified sidebar for faster access and easier discovery.
How to use the AI Workflow panel:
* Modify — generate visuals from sketches, text, or references
* Variate — explore multiple design alternatives
* Make 3D — convert 2D sketches into 3D visualizations
* Create — legacy render & refine workflows
* Adjust — fine tune material, lighting, or rendering properties
### **Results Panel**
The Results Panel allows you to monitor AI generations without interrupting your workflow.
How to use the Results Panel:
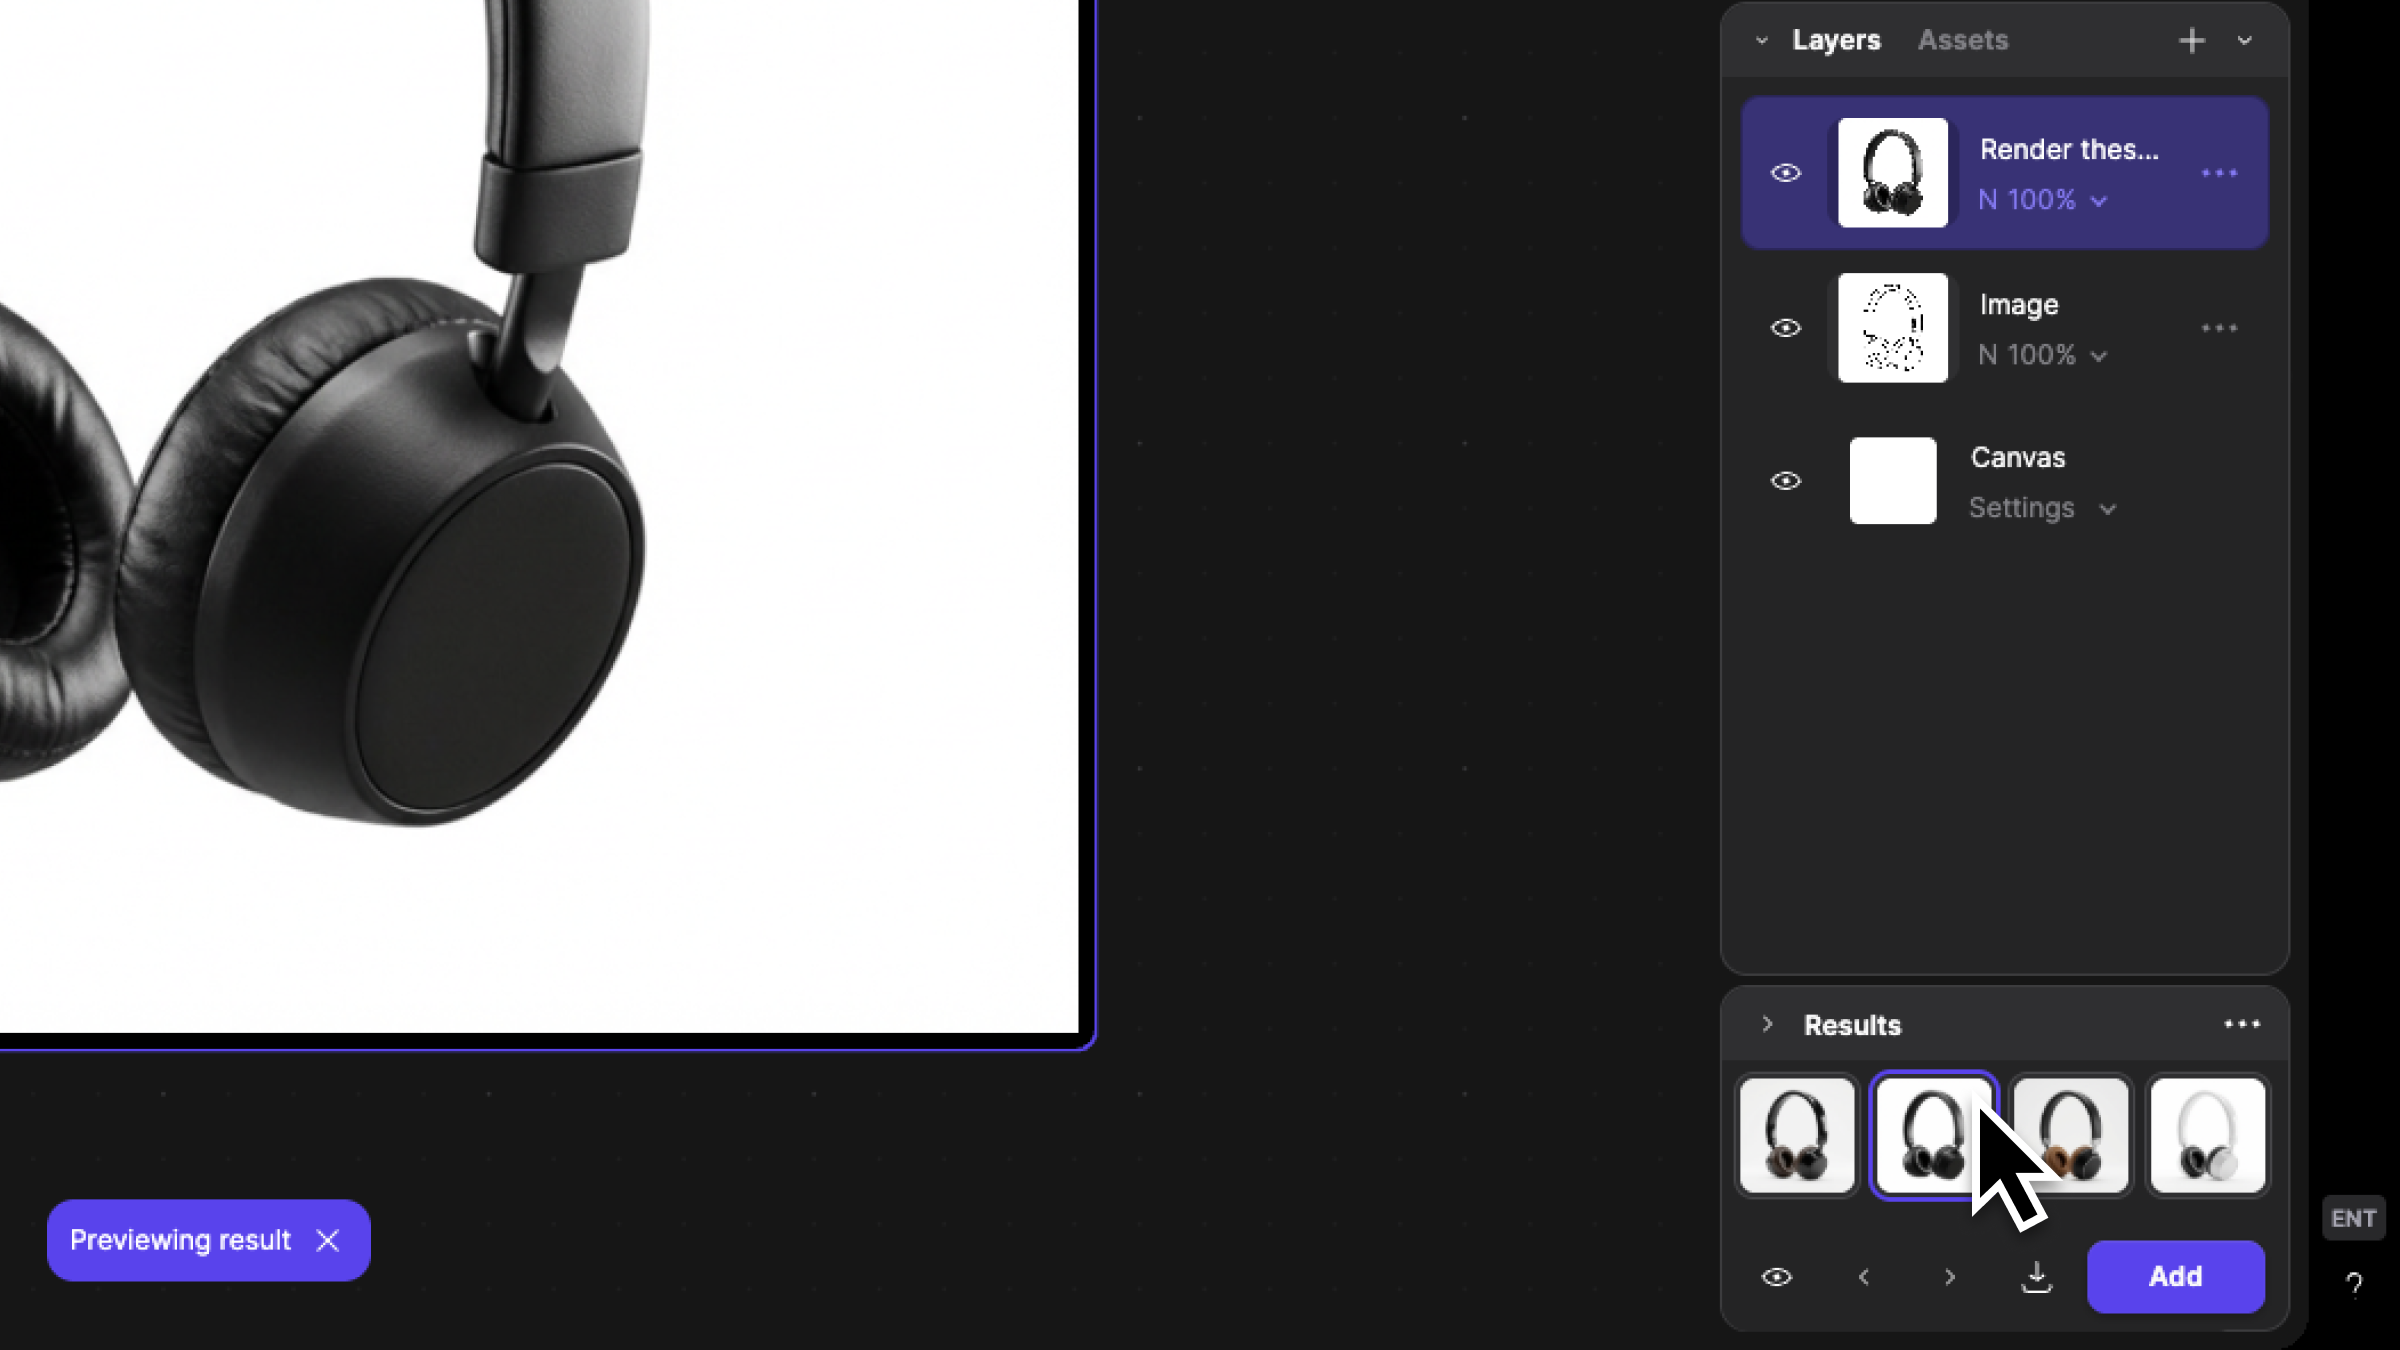 Where Results appear:
* Results Panel
* Modify, Create, and Render generations appear here in real time
* Layers Panel
* Make 3D outputs appear as new 3D layers within your project
## Tips & FAQ
Use Custom layout mode to minimize distractions and prioritize the panels you use most often.
## FAQ
* What is the difference between Workbench and Studio?
* Workbench is ideal for exploration and connecting workflows visually. Studio is designed for focused refinement within a layered, production ready environment.
## Next Steps
* Use Modify inside Studio for targeted refinements.
* Explore Variate to expand design directions quickly.
* Try Make 3D to bring sketches into dimensional space within the same workspace.
Where Results appear:
* Results Panel
* Modify, Create, and Render generations appear here in real time
* Layers Panel
* Make 3D outputs appear as new 3D layers within your project
## Tips & FAQ
Use Custom layout mode to minimize distractions and prioritize the panels you use most often.
## FAQ
* What is the difference between Workbench and Studio?
* Workbench is ideal for exploration and connecting workflows visually. Studio is designed for focused refinement within a layered, production ready environment.
## Next Steps
* Use Modify inside Studio for targeted refinements.
* Explore Variate to expand design directions quickly.
* Try Make 3D to bring sketches into dimensional space within the same workspace.