> ## Documentation Index
> Fetch the complete documentation index at: https://docs.vizcom.com/llms.txt
> Use this file to discover all available pages before exploring further.
# Teams
> Create dedicated team spaces to organize files by project or topic, control visibility with public or private settings, and collaborate with specific workspace members.
## What are teams?
Teams are shared spaces within your workspace where members can access, create, and collaborate on files together. A workspace can contain multiple teams, allowing you to organize members around disciplines, departments, or projects.
All members can access the teams they've been added to. What you can see and do within a team depends on your role:
* **Team Admins, Workspace Admins, and Org Admins** can create and configure teams.
* **Editors and Viewers** can browse files and view team membership but cannot create teams, manage members, or access team settings.
Use Teams to keep collaborative work organized and accessible to the right people.
## How to use Teams
Creating a team:
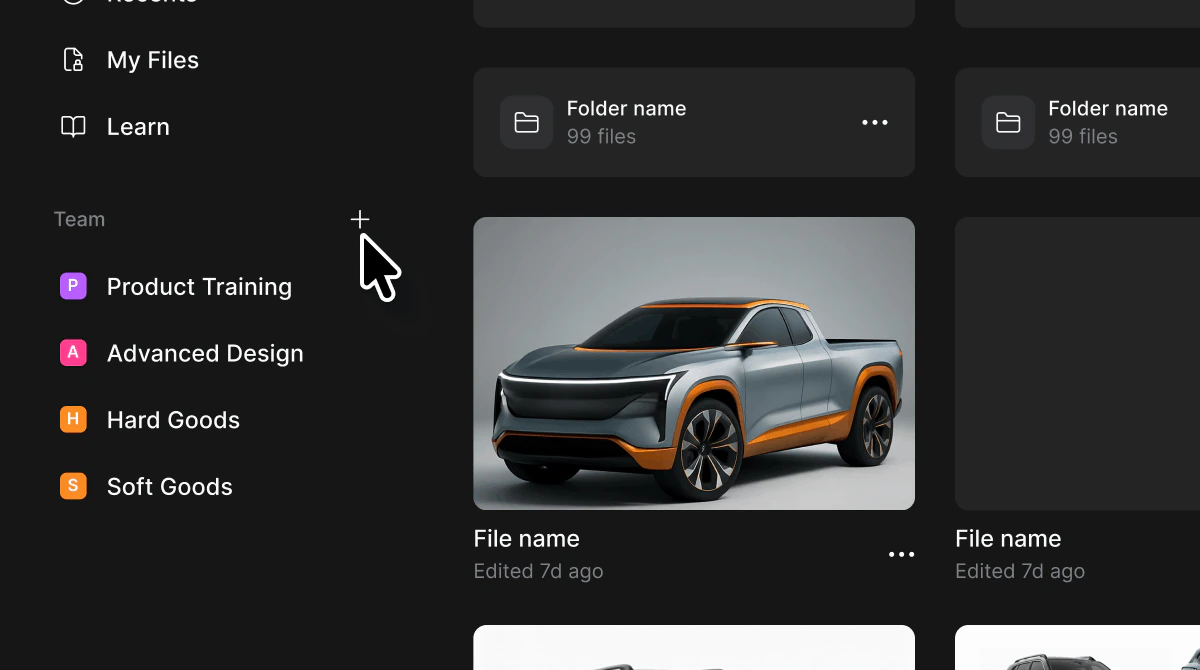
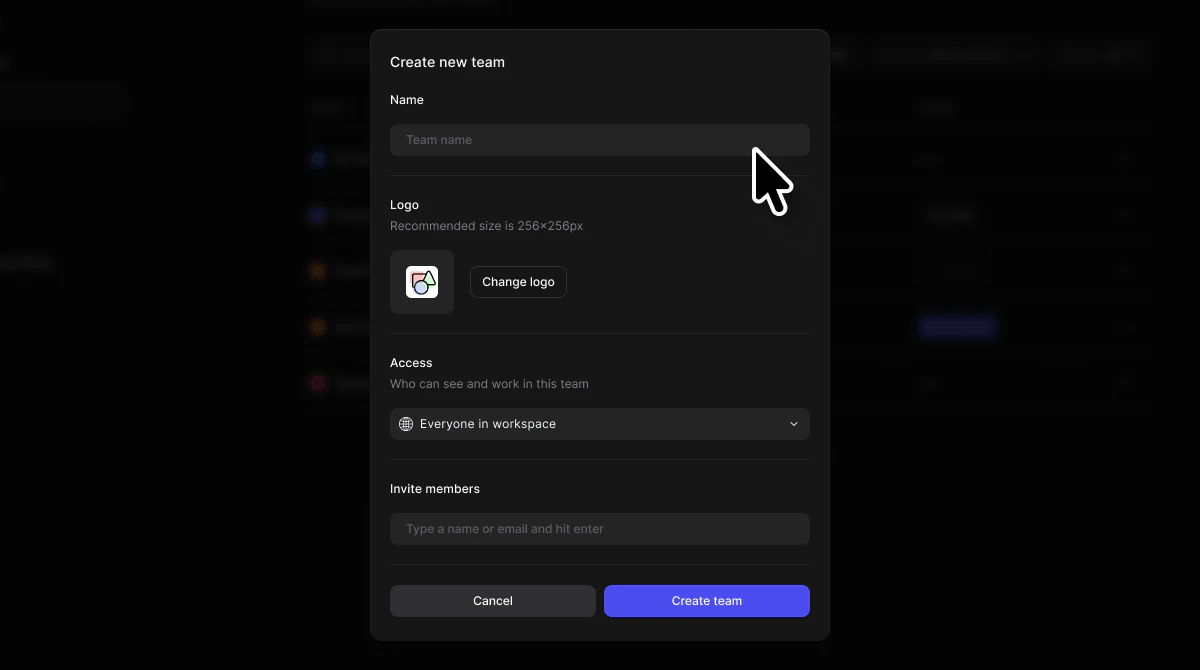
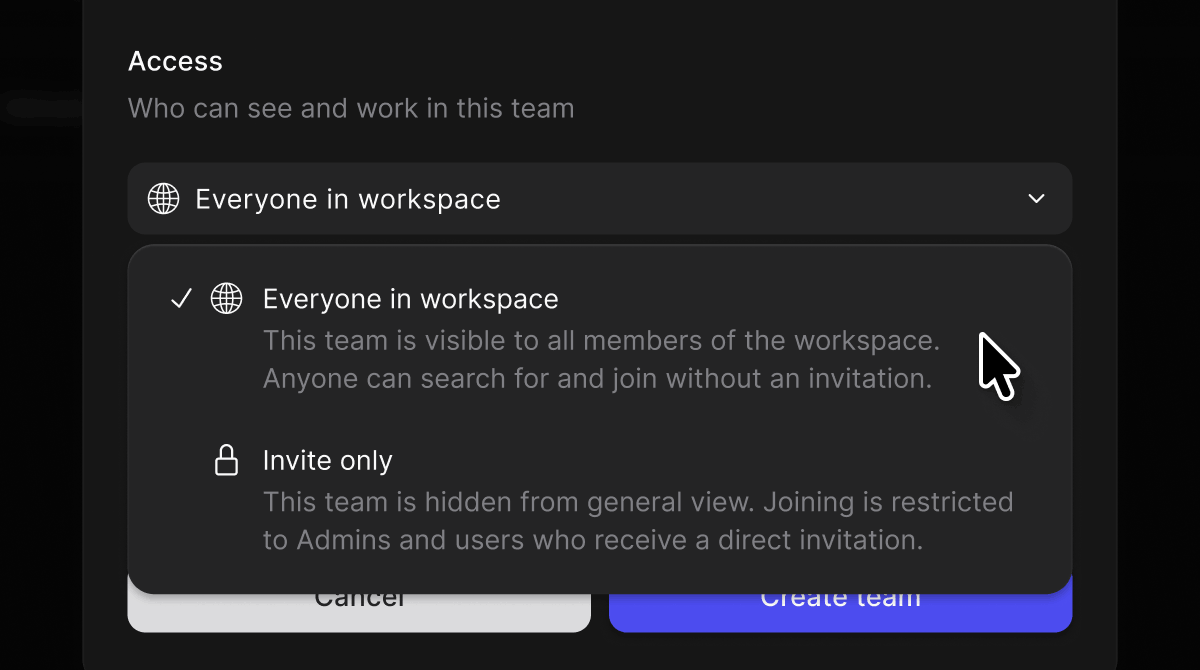
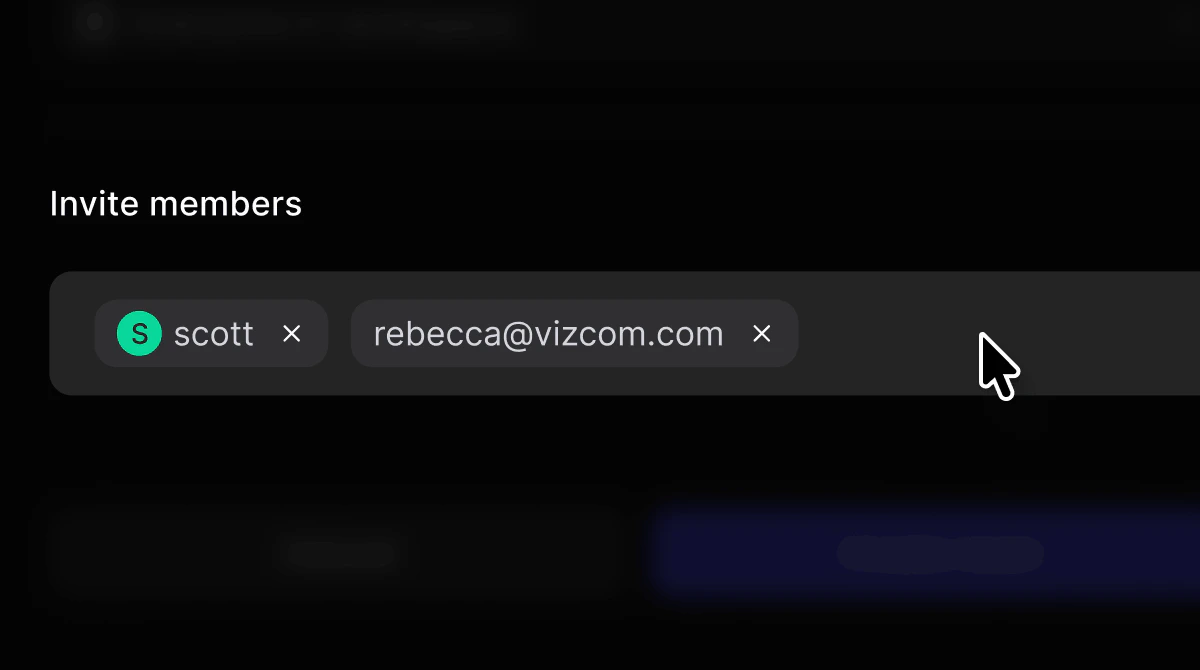 Navigating to a team:

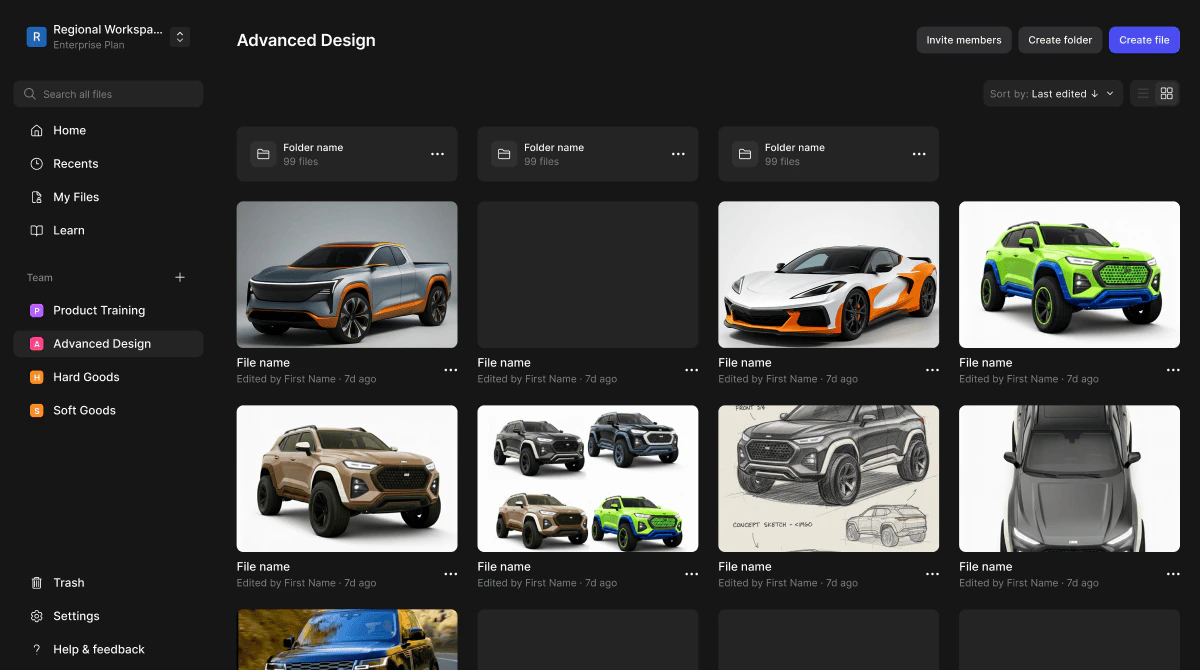
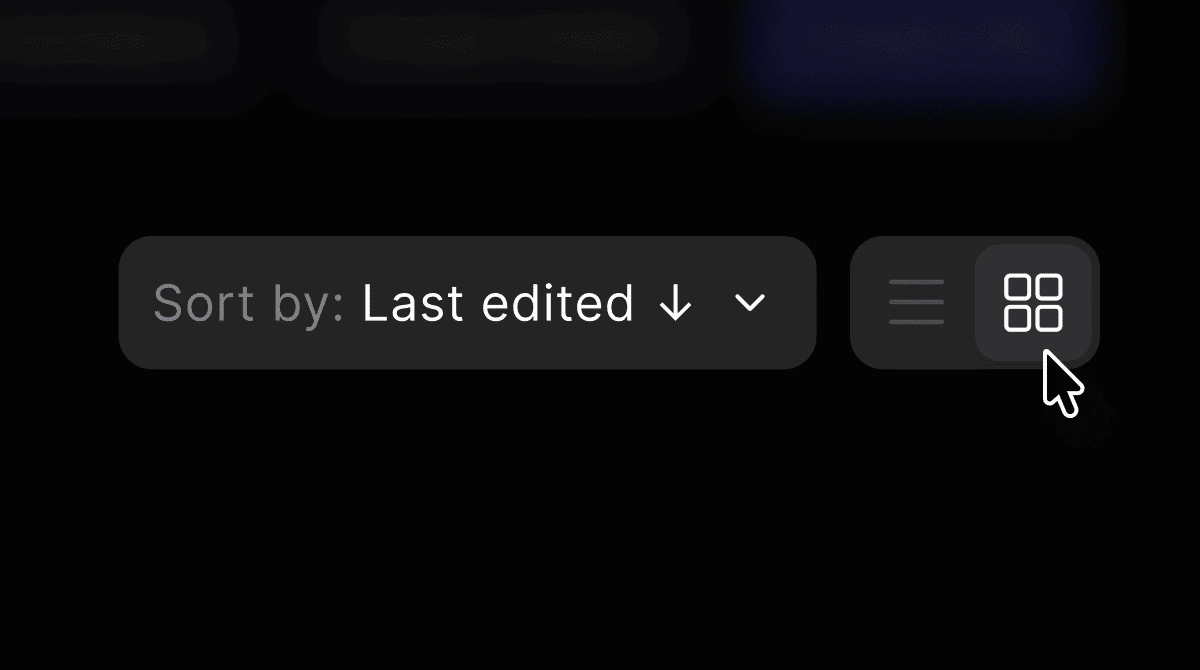 Creating files and folders:\*\* (Team Admins, Workspace Admins, and Org Admins only)\*\*
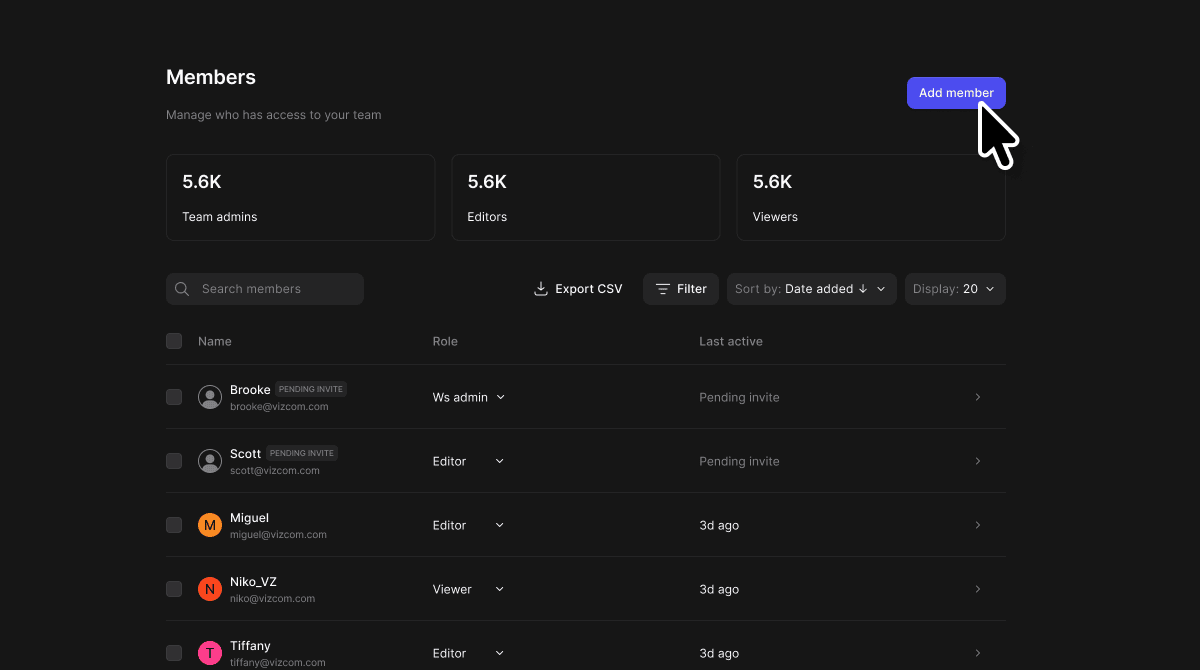
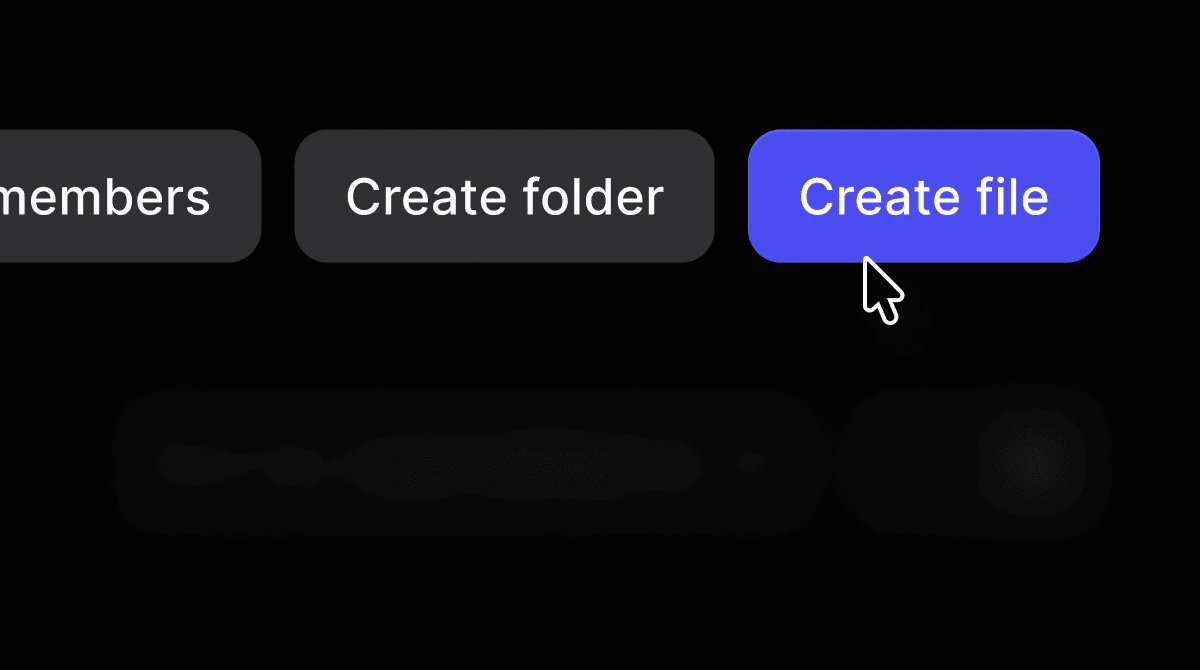 Inviting members to a team:\*\* (Team Admins, Workspace Admins, and Org Admins only)\*\*
 Accessing Team Settings: **(Team Admins, Workspace Admins, and Org Admins only)**
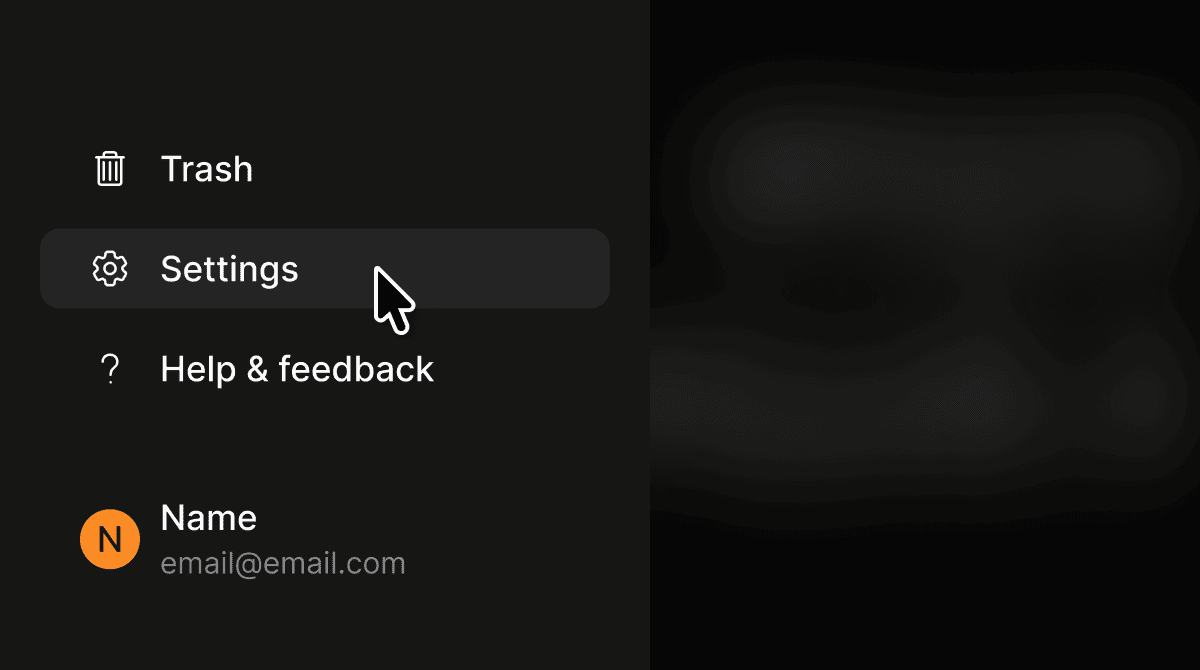
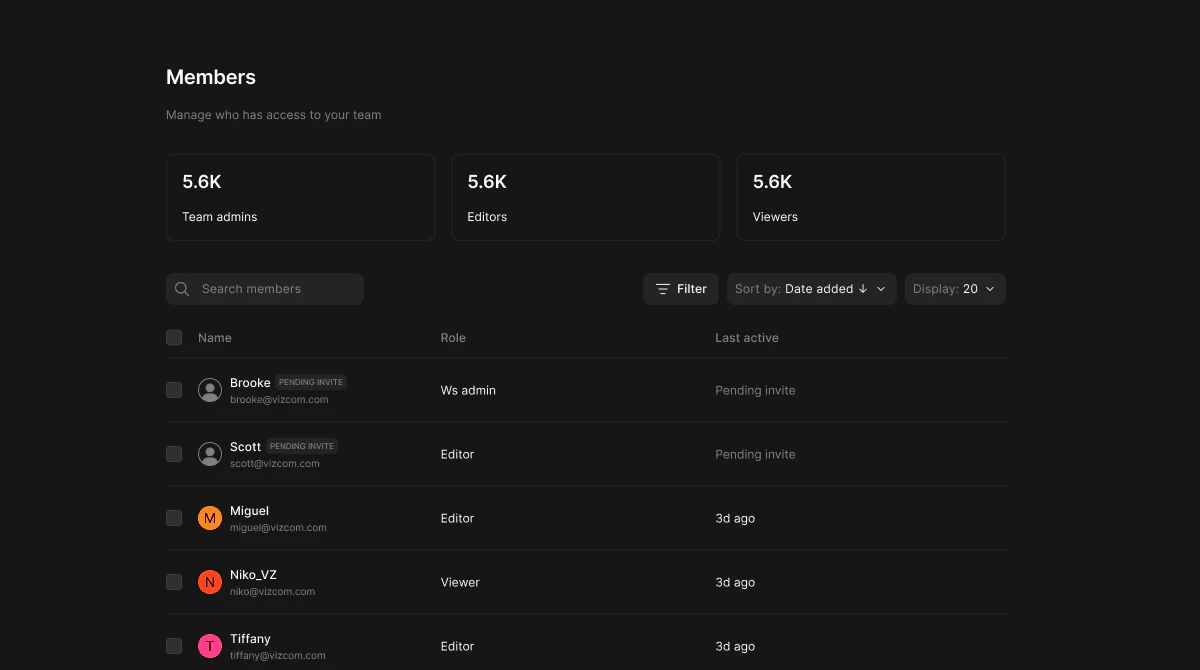
 Viewing team members: \*\* (Editors and Viewers) \*\*
 ## Core Features
### Team Workspace
* Each team has its own shared file library where all team members can access files and folders. Files are displayed in either Grid or List view. List view shows the file name, folder file count, last editor, and last edited date. Grid view shows file thumbnails with editor and recency information.
### Grid and List View
* Toggle between Grid and List view using the controls in the top right of the team workspace. Grid view is ideal for visually browsing work by thumbnail. List view is better for scanning a large library or reviewing edit history at a glance.
### Folders
* Files within a team can be organized into folders. Folders display the number of files they contain. Click into a folder to view its contents.
### Team Settings (General) *for Team Admins, Workspace Admins, and Org Admins only*
* Update the team's logo and access settings from the General tab in Team Settings. Note that the team name is managed by your organization admin and cannot be edited from this view. Editors and Viewers do not have access to Team Settings > General.
### Team Settings (Members view)
* View all members of the team broken down by role — Team admins, Editors, and Viewers — along with their last active date. Team Admins, Workspace Admins, and Org Admins can add new members, update roles, and remove members from this view. Editors and Viewers can view the members list but cannot make any changes.
## Tips & FAQ
You can invite members directly from the team workspace using the Invite members button in the top right — you don't need to go through Settings.
Use folders to keep your team workspace organized, especially as the number of files grows over time.
### FAQ
* **Who can create a team?**
* Only Workspace Admins and Org Admins can create new teams.
* **Who can see a team's files?**
* This depends on the team's Access setting. If set to Everyone in workspace, all workspace members can see the team. If restricted, only invited members will have access.
* **Can I change a team's name?**
* Team names are managed by your organization admin and cannot be edited from Team Settings. You can update the team logo and access settings from Team Settings > General.
* **What can Editors and Viewers do within a team?**
* Editors and Viewers can browse team files, open files, and view the team members list. They cannot create files or folders, invite members, or access Team Settings > General.
## Next Steps
* Create your first file in the team workspace using the Create file button.
* Organize team files into folders using Create folder.
* Manage who has access from Team Settings > Members.
## Core Features
### Team Workspace
* Each team has its own shared file library where all team members can access files and folders. Files are displayed in either Grid or List view. List view shows the file name, folder file count, last editor, and last edited date. Grid view shows file thumbnails with editor and recency information.
### Grid and List View
* Toggle between Grid and List view using the controls in the top right of the team workspace. Grid view is ideal for visually browsing work by thumbnail. List view is better for scanning a large library or reviewing edit history at a glance.
### Folders
* Files within a team can be organized into folders. Folders display the number of files they contain. Click into a folder to view its contents.
### Team Settings (General) *for Team Admins, Workspace Admins, and Org Admins only*
* Update the team's logo and access settings from the General tab in Team Settings. Note that the team name is managed by your organization admin and cannot be edited from this view. Editors and Viewers do not have access to Team Settings > General.
### Team Settings (Members view)
* View all members of the team broken down by role — Team admins, Editors, and Viewers — along with their last active date. Team Admins, Workspace Admins, and Org Admins can add new members, update roles, and remove members from this view. Editors and Viewers can view the members list but cannot make any changes.
## Tips & FAQ
You can invite members directly from the team workspace using the Invite members button in the top right — you don't need to go through Settings.
Use folders to keep your team workspace organized, especially as the number of files grows over time.
### FAQ
* **Who can create a team?**
* Only Workspace Admins and Org Admins can create new teams.
* **Who can see a team's files?**
* This depends on the team's Access setting. If set to Everyone in workspace, all workspace members can see the team. If restricted, only invited members will have access.
* **Can I change a team's name?**
* Team names are managed by your organization admin and cannot be edited from Team Settings. You can update the team logo and access settings from Team Settings > General.
* **What can Editors and Viewers do within a team?**
* Editors and Viewers can browse team files, open files, and view the team members list. They cannot create files or folders, invite members, or access Team Settings > General.
## Next Steps
* Create your first file in the team workspace using the Create file button.
* Organize team files into folders using Create folder.
* Manage who has access from Team Settings > Members.