

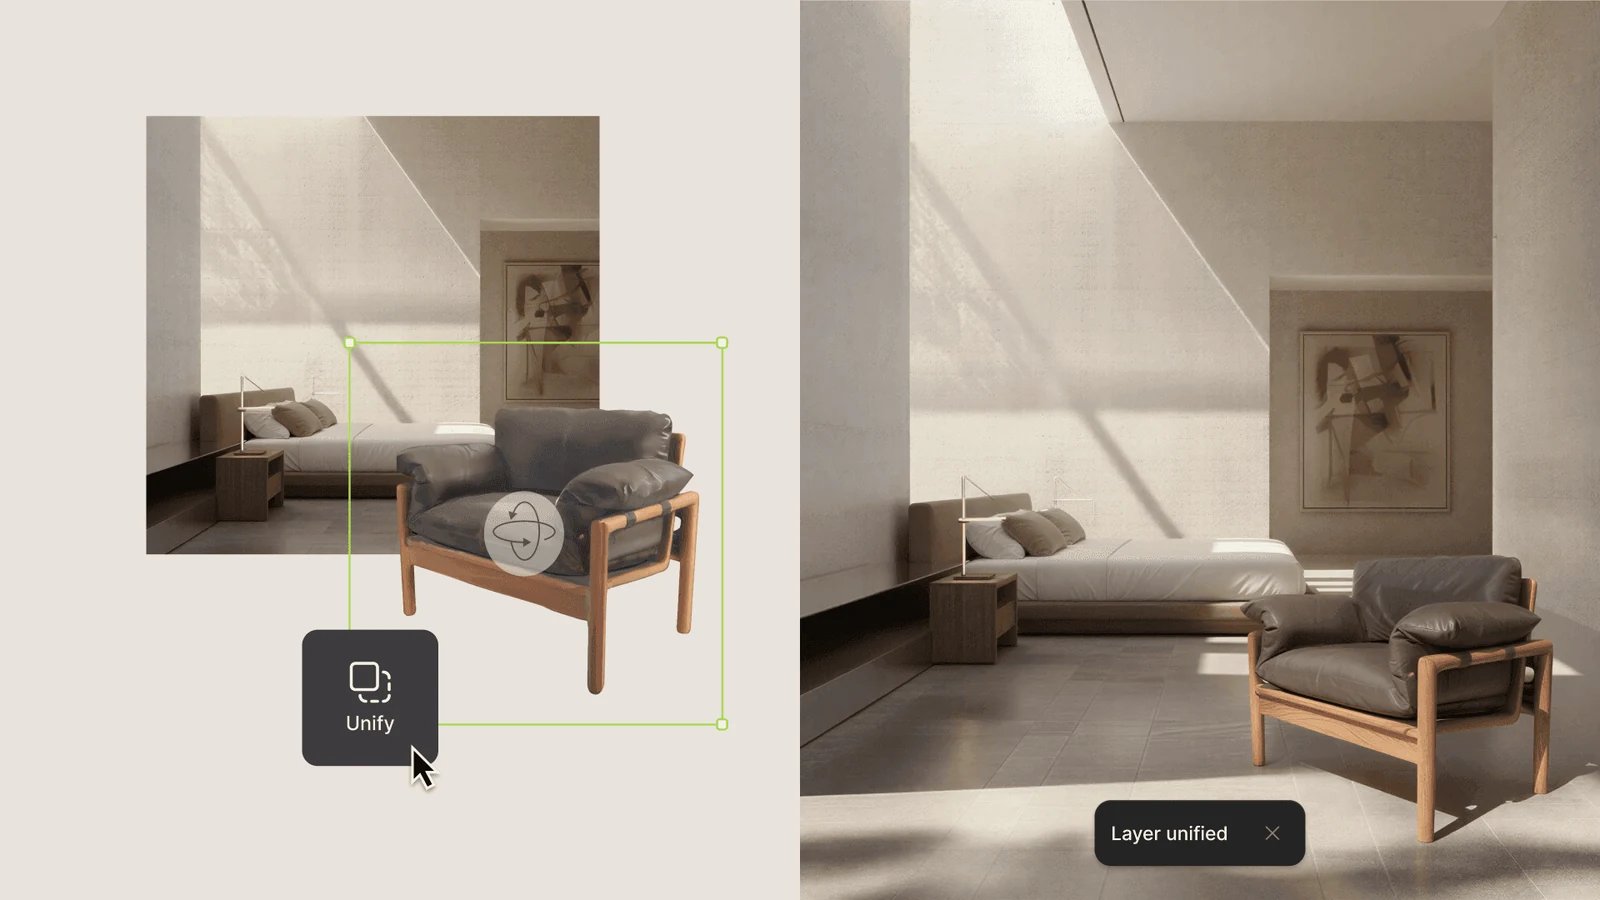
A product placed into a photographed room, with its light and shadows matched by Unify.
Open the template
It opens view-only. Click Duplicate file to edit for your own copy.
Steps
- Make the scene with a Modify prompt, a color sketch you prompt over, or a photo.
- Connect the scene as @1 and the product as @2: “Place @2 into @1 and replace the wooden cylinder”.
- Or add the product as a layer in Studio, move it into place, and click Unify in the Adjust tab (Unify).
- Sketch a hand pose over the render and connect the clean render as @2 for in-hand shots.
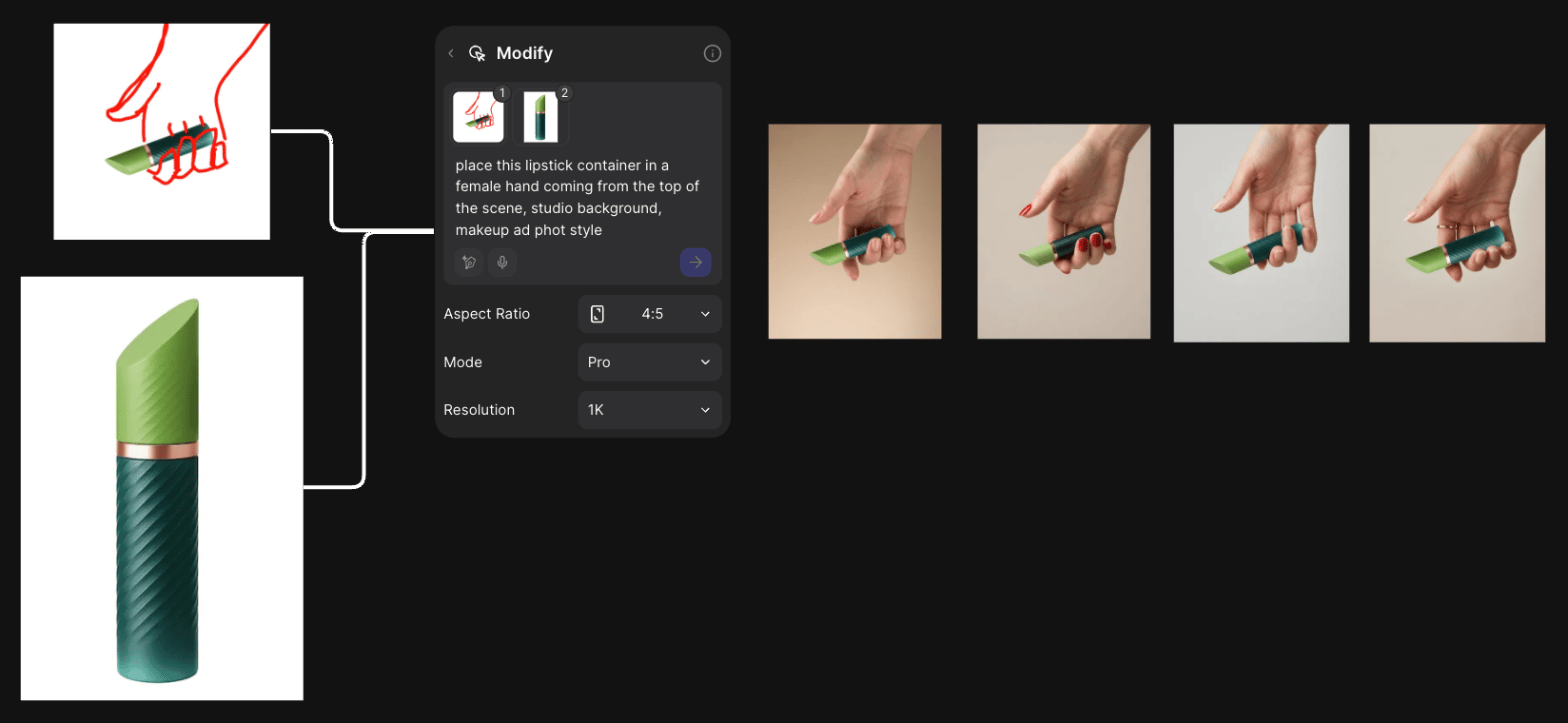
A rough hand sketch and a product render combine into in-hand photography.
- Restage a photo-based result with a second prompt, with Aspect Ratio on Original and the photo connected last.
- Fix a finger or a reflection with a selection, then export.
Good to know
- An object of the right size where the product goes sets its position, scale and shadow.
- For correct scale in a hand, start from a photo of a real hand holding a physical mockup.
- Unify composites everything visible into a new Unified layer. Moving layers underneath shows no change until you hide that layer.
Related
Place in context
Try on, Unify and scenes.
Smart Dropper recipes
A scene from a photo, no prompt.
Apparel
A garment on a model.
All workflows
Every workflow.