

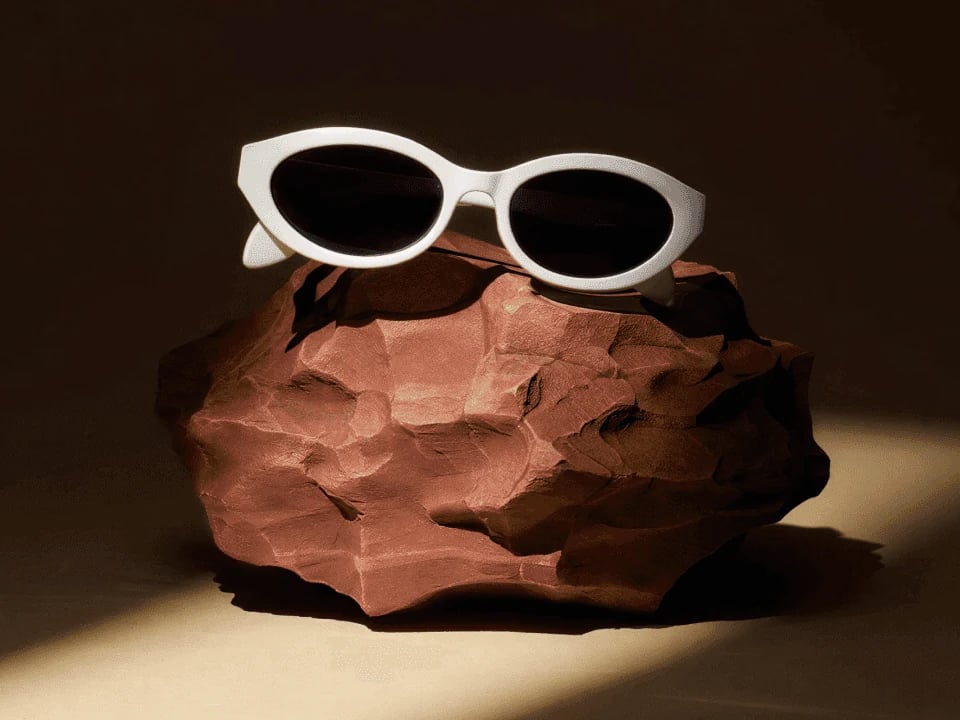
Sunglasses placed on a rock photo, with Unify matching light and shadow.
Open the template
It opens view-only. Click Duplicate file to edit for your own copy.
Steps
- Open the model photo in Studio and sketch the accessory on a new layer (N), using tone or color to separate parts.
- Press Q and explain your color code in the Modify prompt, such as “The grey are piercings and rings.”
- Add rules to the same prompt and run it again when details land in the wrong place.
- Connect an existing product as @2 and say what to borrow from it (Reference images).
- Show it worn, then on its own: “present these glasses without a mannequin head on a grey concrete floor with subtle shadowing”.
- Make views with New view, and parts with the Parts tab of Extract.
- Make colorways with a Variate block on the Color tab (Color Variation).
- Combine the worn render with a location photo, or place the product in Studio and click Unify.
- Upscale and export your selects.
Good to know
- Sketching on a photo of a person gets fit and scale right.
- Keep your render as @1 and give each reference one job: a detail, a material or a location.
- Use photography terms (“fish eye”, “head on”, “directional lighting from the left”) for editorial shots.
Related
Design concepting
Rough idea to refined concept.
Extract parts
Break a design into parts.
Match a look with references
Reference images and collections.
All workflows
Every workflow.