

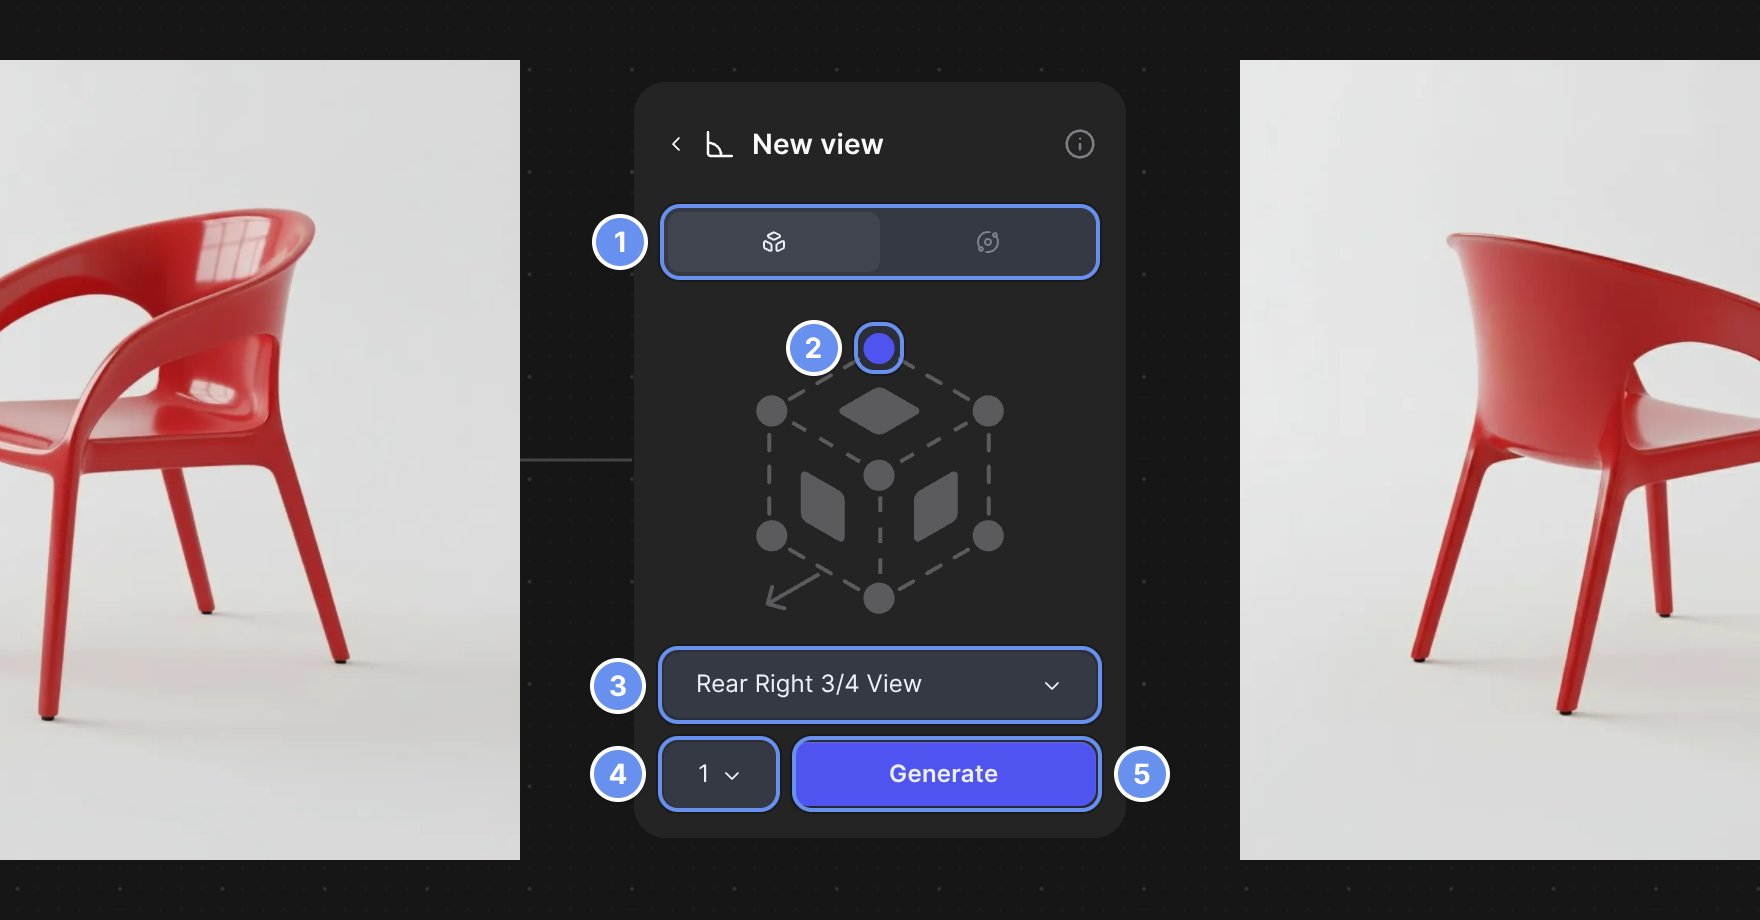
Mode (1), cube point (2), Select a view (3), quantity (4), Generate (5).
Generate a defined view
1
Add the block
Add a Modify block, connect your image and click New view.
2
Pick the angle
On Defined View 1, click a point on the cube 2. For Rear, Right or Bottom, open Select a view 3 > Hidden views.
3
Generate
Leave the quantity on 1 4 and click Generate 5.
Rotate and tilt freely (Free View)
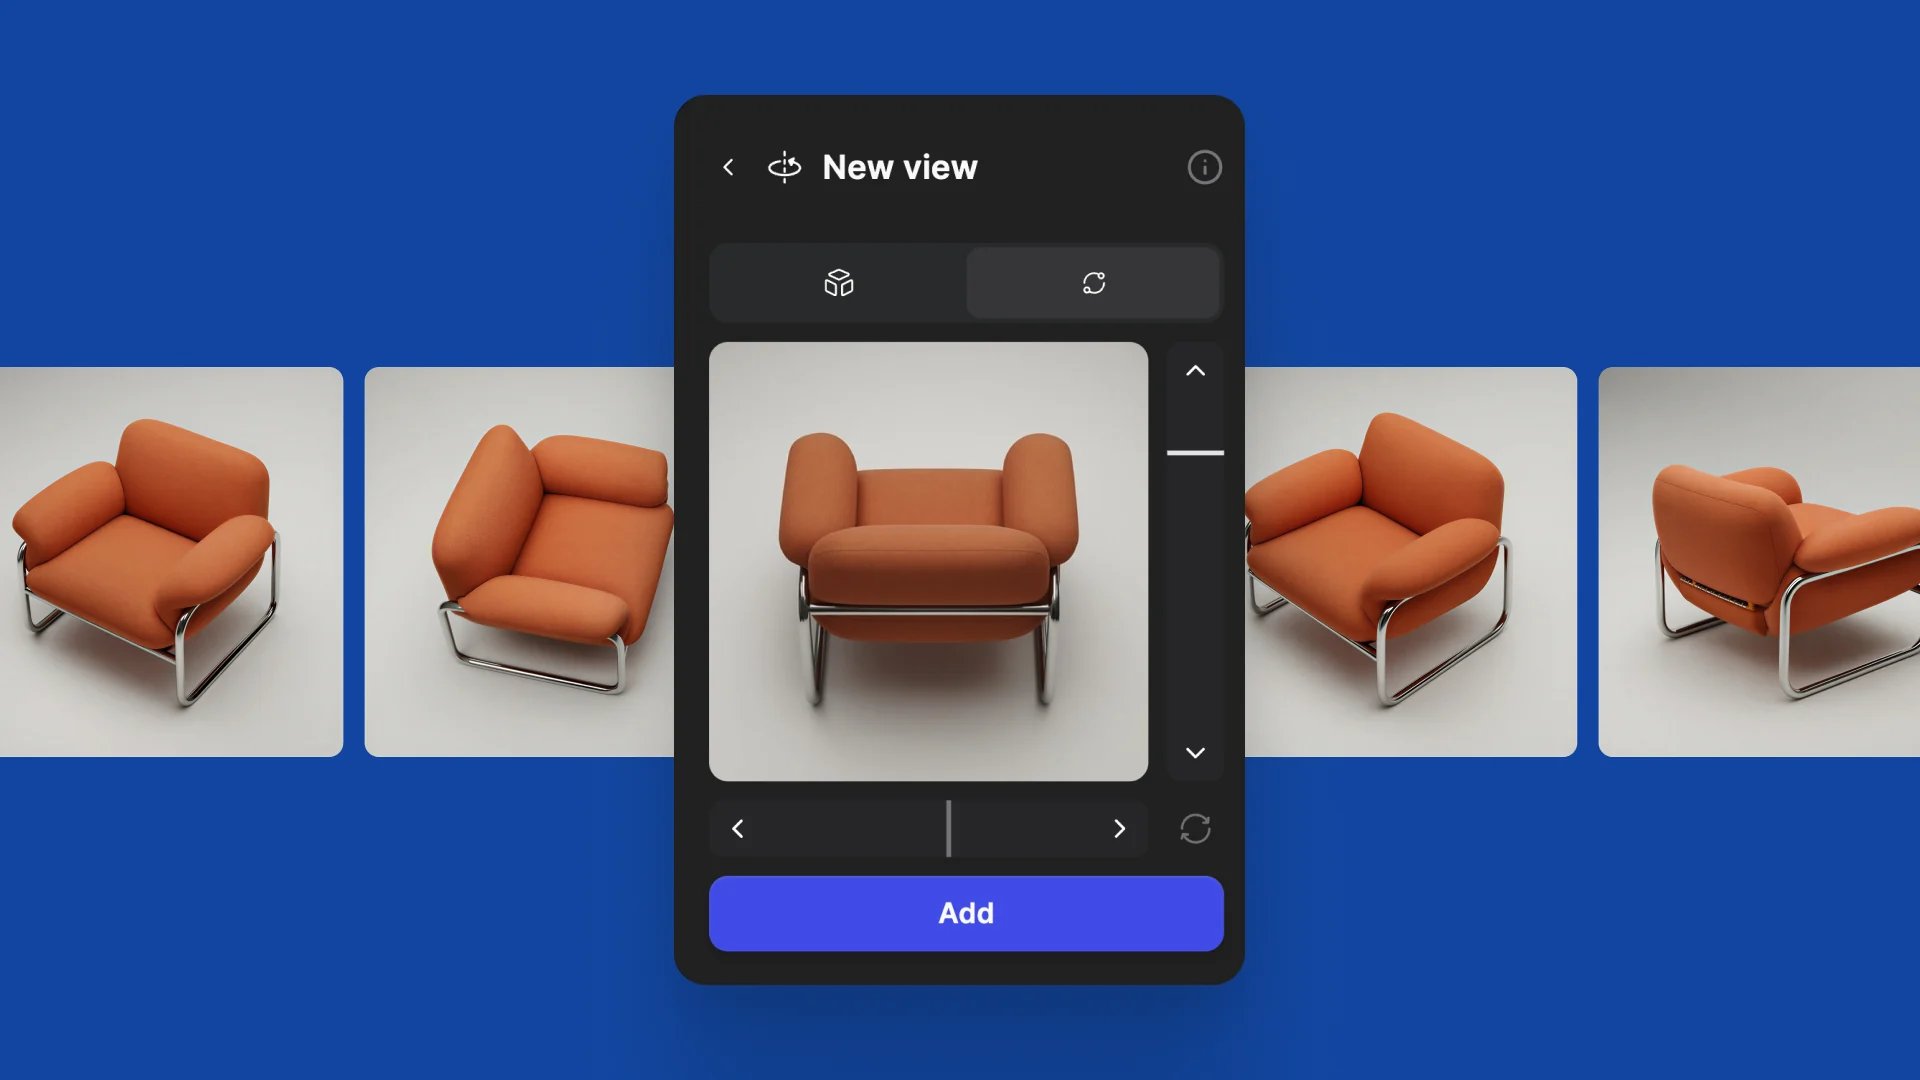
Free View: drag the sliders to choose an angle, then click Add.
1
Switch to Free View
Click the rotation icon 1 and wait for the previews.
2
Rotate and tilt
Drag the bottom slider to rotate in 45° steps and the right slider to tilt.
3
Add the angle
Click Add to place the view on the canvas.
Examples
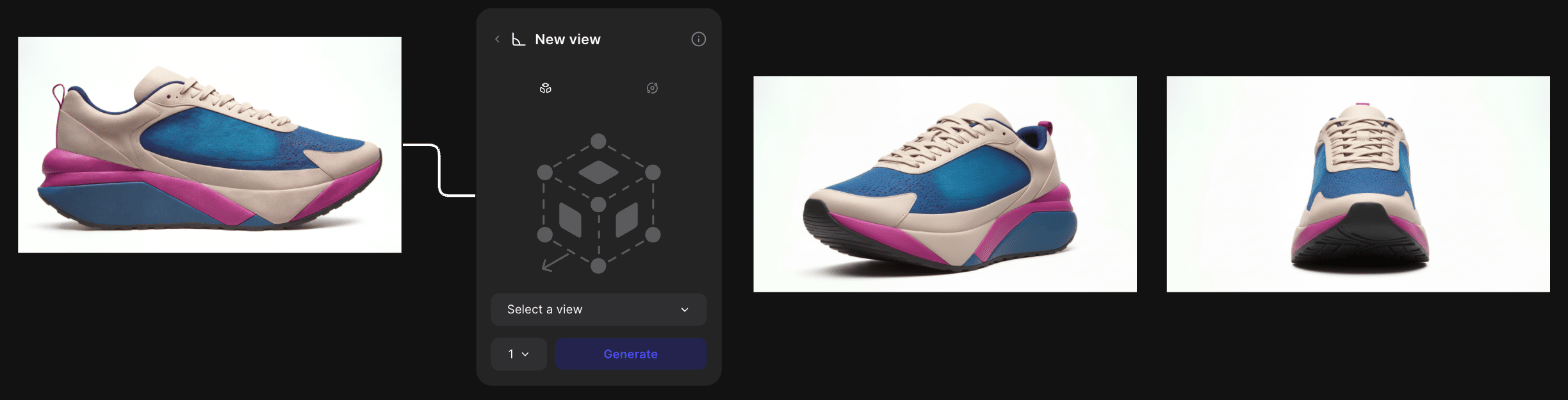
A side-profile sneaker turned into a front 3/4 view and a straight-on front view.
Tips
- Use one product on a plain background for the most consistent views.
- The hidden side is a guess, and small text and logos often go wrong: run an angle twice and compare.
- For Make 3D, generate front, left, rear and right views first.
Related
Explore variations of a design
Views, forms and colorways side by side.
Build a presentation set
One render to a set of views.
Make 3D
Turn your views into a 3D model.
Modify
The block that holds New view.