

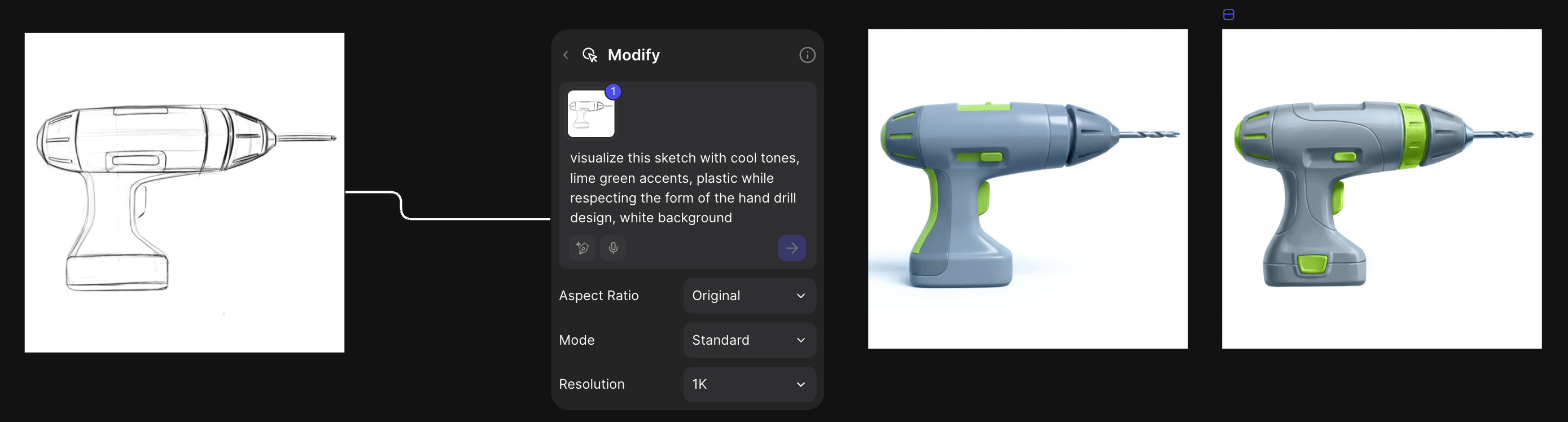
The starting point: a hand-drill sketch and its first renders.
Open the starting template
It opens view-only. Click Duplicate file to edit for your own copy.
Steps
- Upload the sketch, press Q and ask Modify to respect the original form.
- Explore the form with a Variate block and a Form preset such as Proportion (Form Variation).
- Explore CMF with a Variate block on the Color tab, or a material reference as @2 (Color Variation).
- Make standard views with New view.
- Fix a button, vent or logo with a selection in Studio.
- Click Insert (+) > Make 3D, connect your views and click Generate (Make 3D).
- Right-click the 3D card and choose Export… for GLB, STL or USDZ, or send it to Autodesk Fusion from a 3D layer in Studio.
Good to know
- 3D export and the Fusion export need a paid plan.
- Detailed Sharp suits hard surfaces and Detailed Smooth smooth ones. More detailed modes cost more (Credits).
- For 3D, use clean views of the product alone on a plain background.
Related
Render to Fusion
The full 3D handoff.
Make 3D from 2D
Make 3D and export it.
Design concepting
Rough idea to refined concept.
All workflows
Every workflow.