

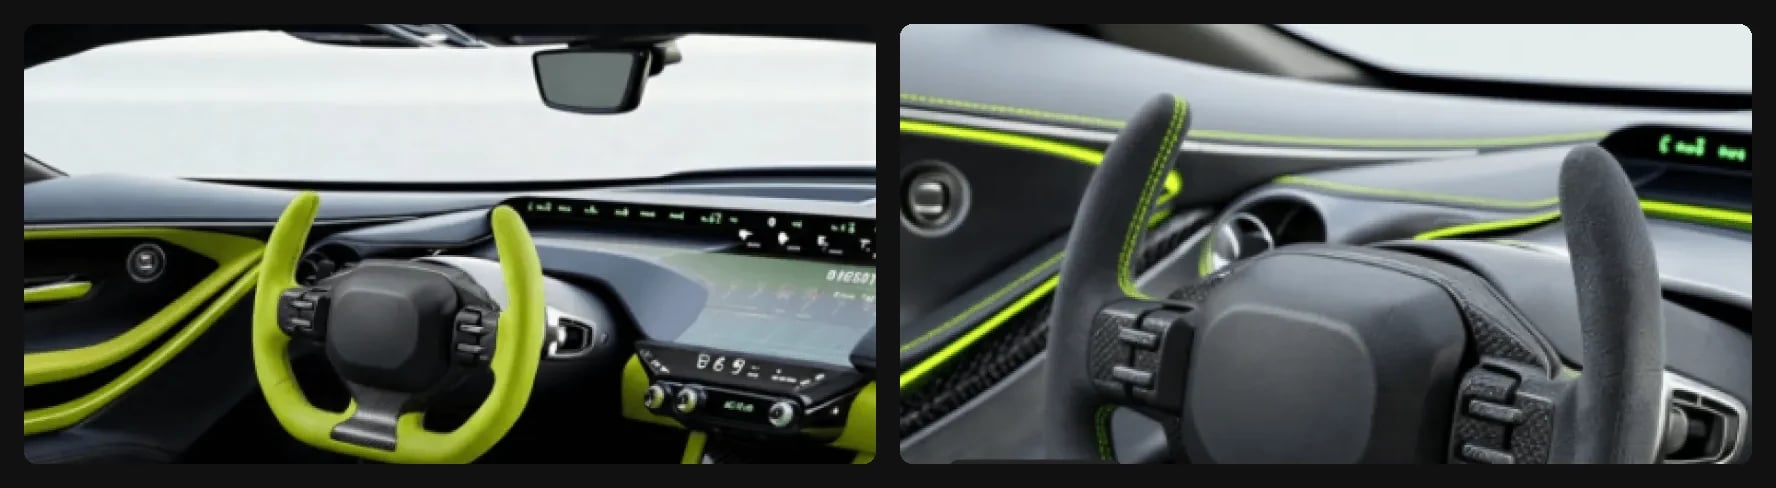
A cabin rendered from a mood board, and a steering wheel close-up.
Open the template
It opens view-only. Click Duplicate file to edit for your own copy.
Steps
- Render the line work with Modify on Pro, naming each material, such as alcantara for the seats.
- Connect a mood board as the second image to take the cabin’s palette from it.
- Isolate a component: “Isolate the seat and place it in a front quartering view on a black background, maintain the design”.
- Add details with short prompts, and make views of the component with New view.
- Paint an area in a bright flat color in Studio, then ask Modify for a close-up and to remove the color.
- Composite it back: “replace the door panel in image 2 with the door panel in image 1, ensure the elements are in the correct orientation”.
- Put the cabin in use: “add a person driving the car, change the background to a city street”.
- Upscale and export your selects.
Good to know
- Each flat color tells Modify that those surfaces share a material.
- Name materials (“alcantara”, “piano black”, “dark metal”) instead of describing them.
- The Parts tab of Extract isolates every component at once. Each part is a separate generation.
Related
Automotive exterior
Vehicle sketch to component.
Extract parts
Break a design into parts.
Edit part of an image
Edit one area.
All workflows
Every workflow.