

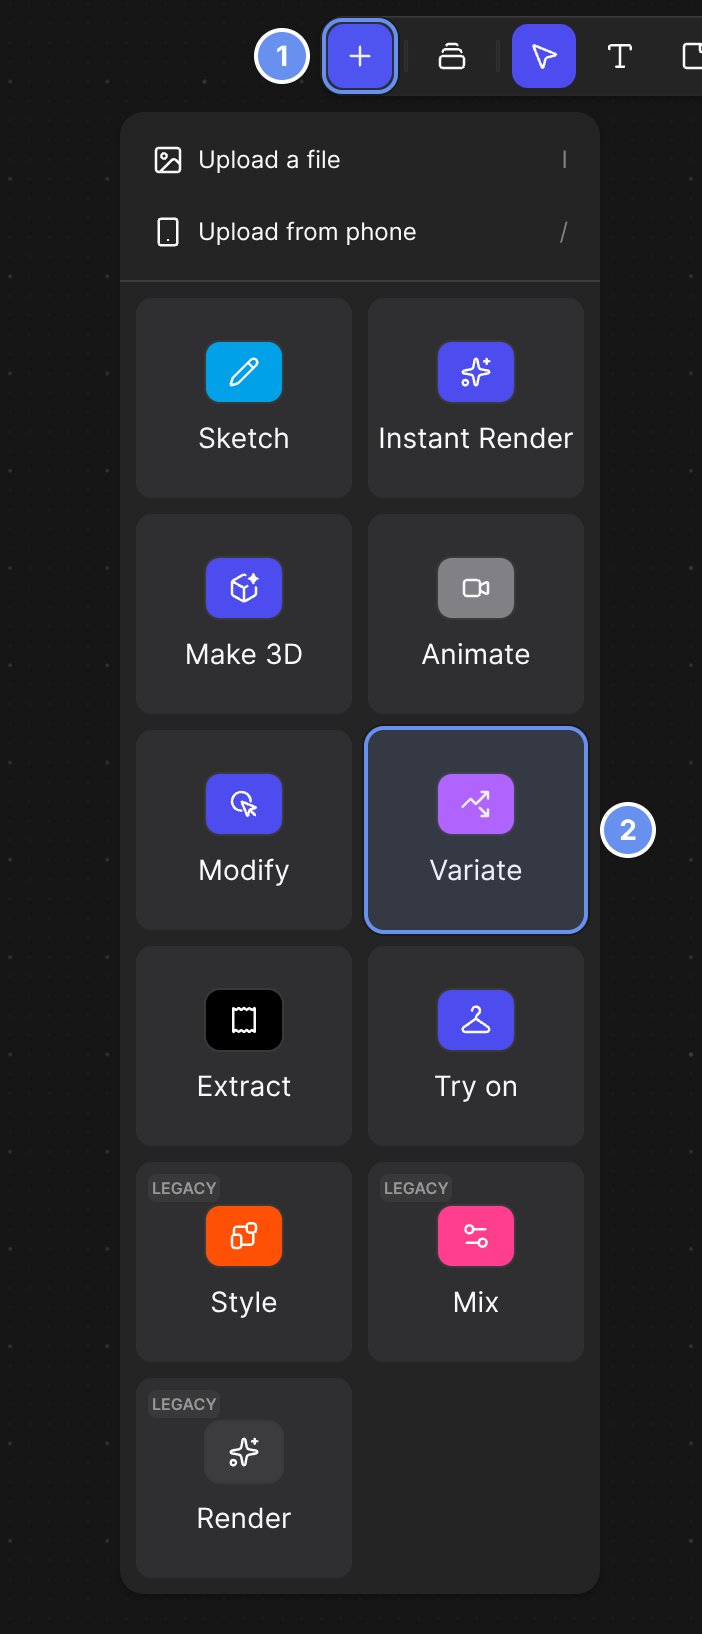
Click Insert (+) (1), then Variate (2).
Pick the right tool
Results vary between runs, so generate a few and pick. Studio Outputs of 2 or 4 need a paid plan.
Vary the form
Drag a dot between opposite qualities, such as Complex and Simple. The farther from center, the bolder the change.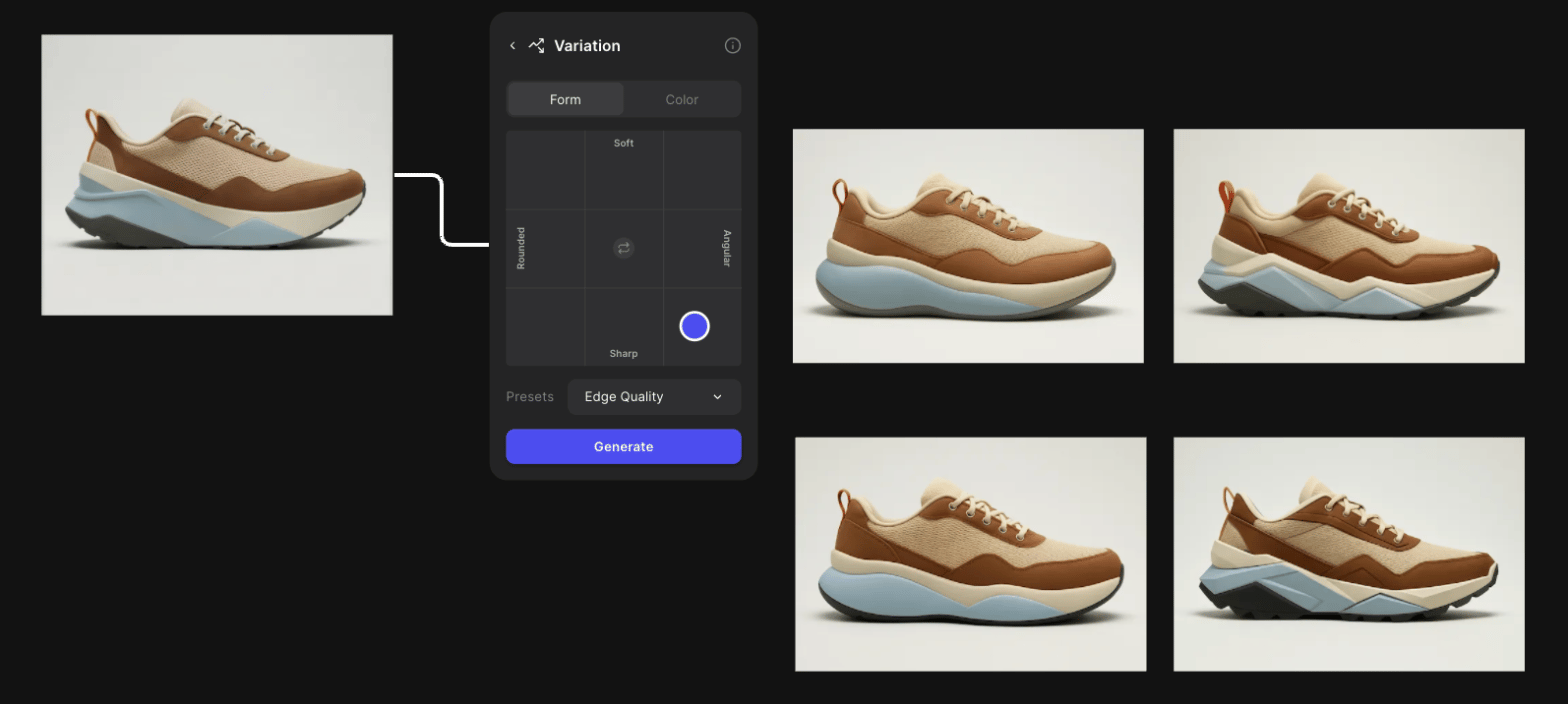
The dot sits toward Sharp, so four sharper sneakers come out.
1
Open Form
Click Insert (+) > Variate and connect your image. In Studio, open Variation > Form.
2
Choose the axes
Pick from Presets, or type your own labels.
3
Drag the dot
Drag toward the qualities you want. Reset to center goes back to neutral.
4
Generate
Click Generate.
See another angle with New view
Choose New view from a Modify block’s list, or under the prompt in Studio’s Modify tab.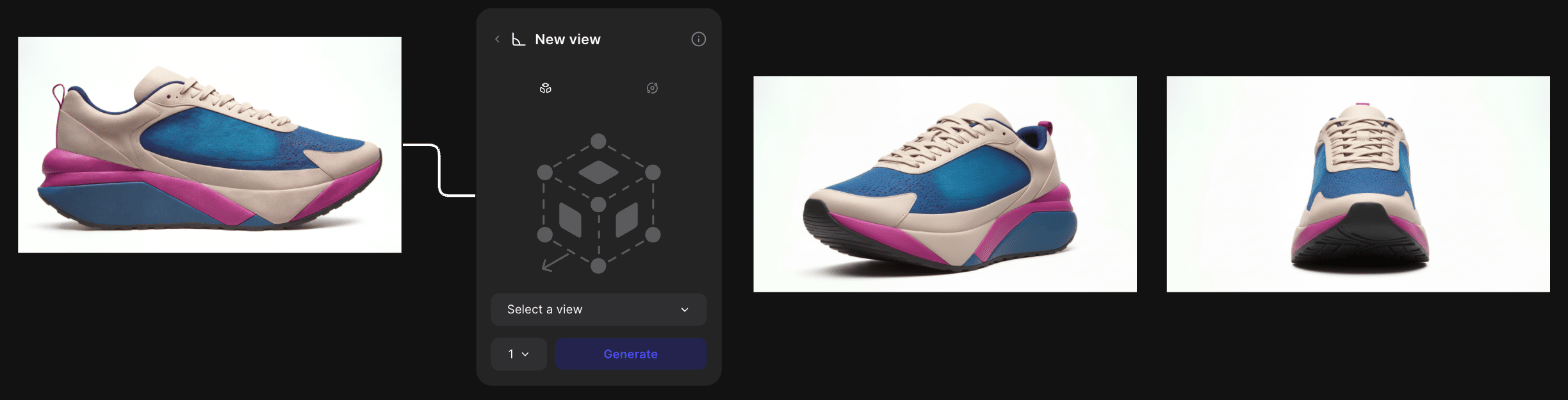
A New view block turning a side-profile sneaker into new camera angles.
The hidden side is a guess, so check each view before you make 3D.
Change the expression
On the Workbench, choose Change expression from a Modify block’s list, turn the dial and click Generate. On products, Happy rounds the form and Angry sharpens it. Custom words such as “Tactical” work well. Apply it to a clean image, not a chain of results.Compare and keep results
- Tidy up: select results and click Arrange, then wrap each direction in a section (Shift + S).
- See what made one: click Show image details.
- In Studio: click a result in Results to preview it, then click Add.
Related
Colors and materials
Colorways and material swatches.
Write prompts that work
Steer each variation.
New view
Every view and setting.
Make 3D from 2D
Turn views into a 3D model.