


Menu (1), Insert (2), Library (3), Select, Text, Note and Section (4), Smart Dropper (5), zoom (6).
Move around
Add images
- Drag images, videos or .glb 3D files onto the canvas, or paste with ⌘/Ctrl + V.
- Insert (+) > Upload a file (I), or Upload from phone (/) and scan the QR code.
- Insert (+) > Sketch for a blank image to draw on.
Add and connect blocks
Blocks are the AI tools: images go in, and new images, video or 3D come out.1
Press Q for a Modify block
Select up to 4 images and press Q.
2
Drag from the + handle
Drag from the + on an image’s right edge, then type a prompt or pick a block.
3
Pick a block from Insert (+)
Click a tile, then connect your images to the block.
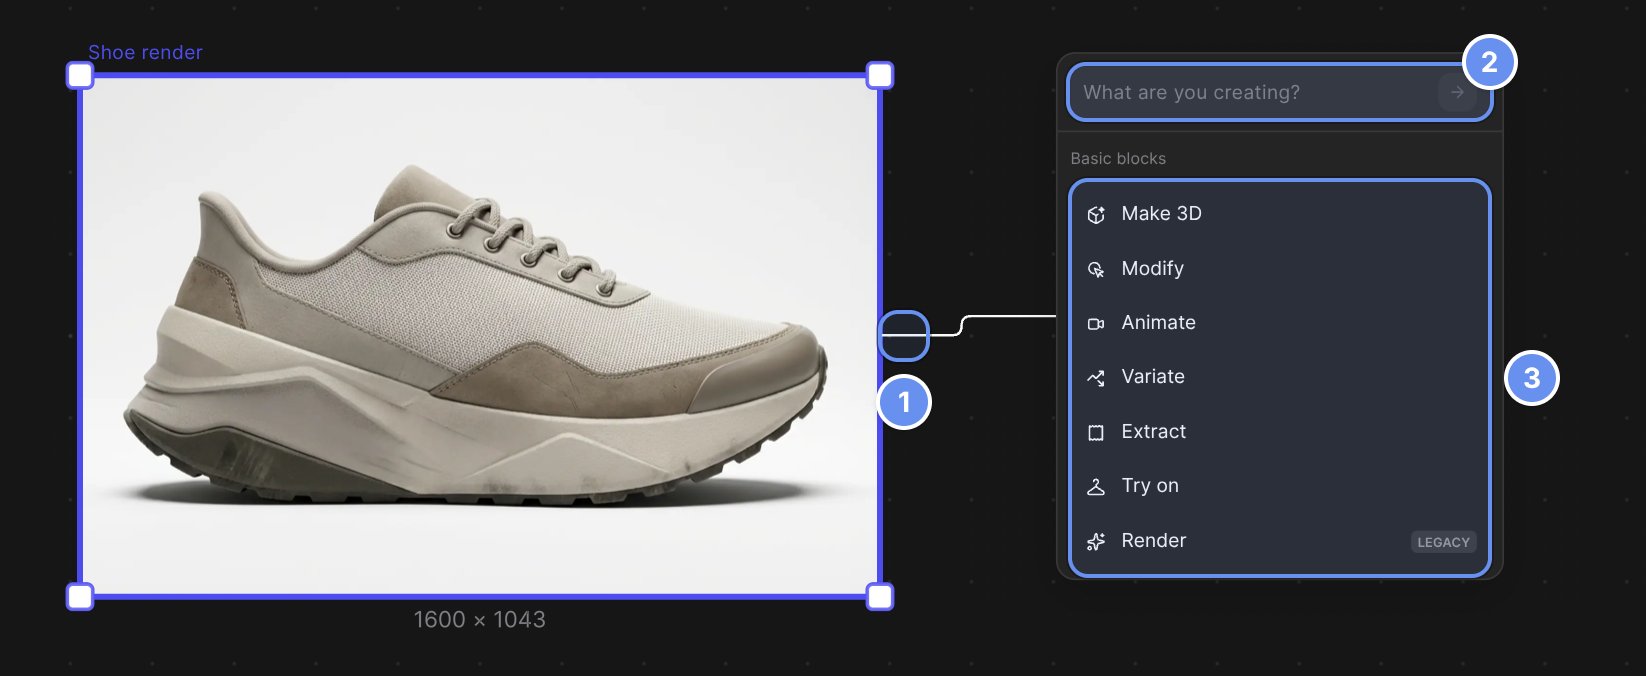
Drag from + (1), then type a prompt (2) or pick a block (3).
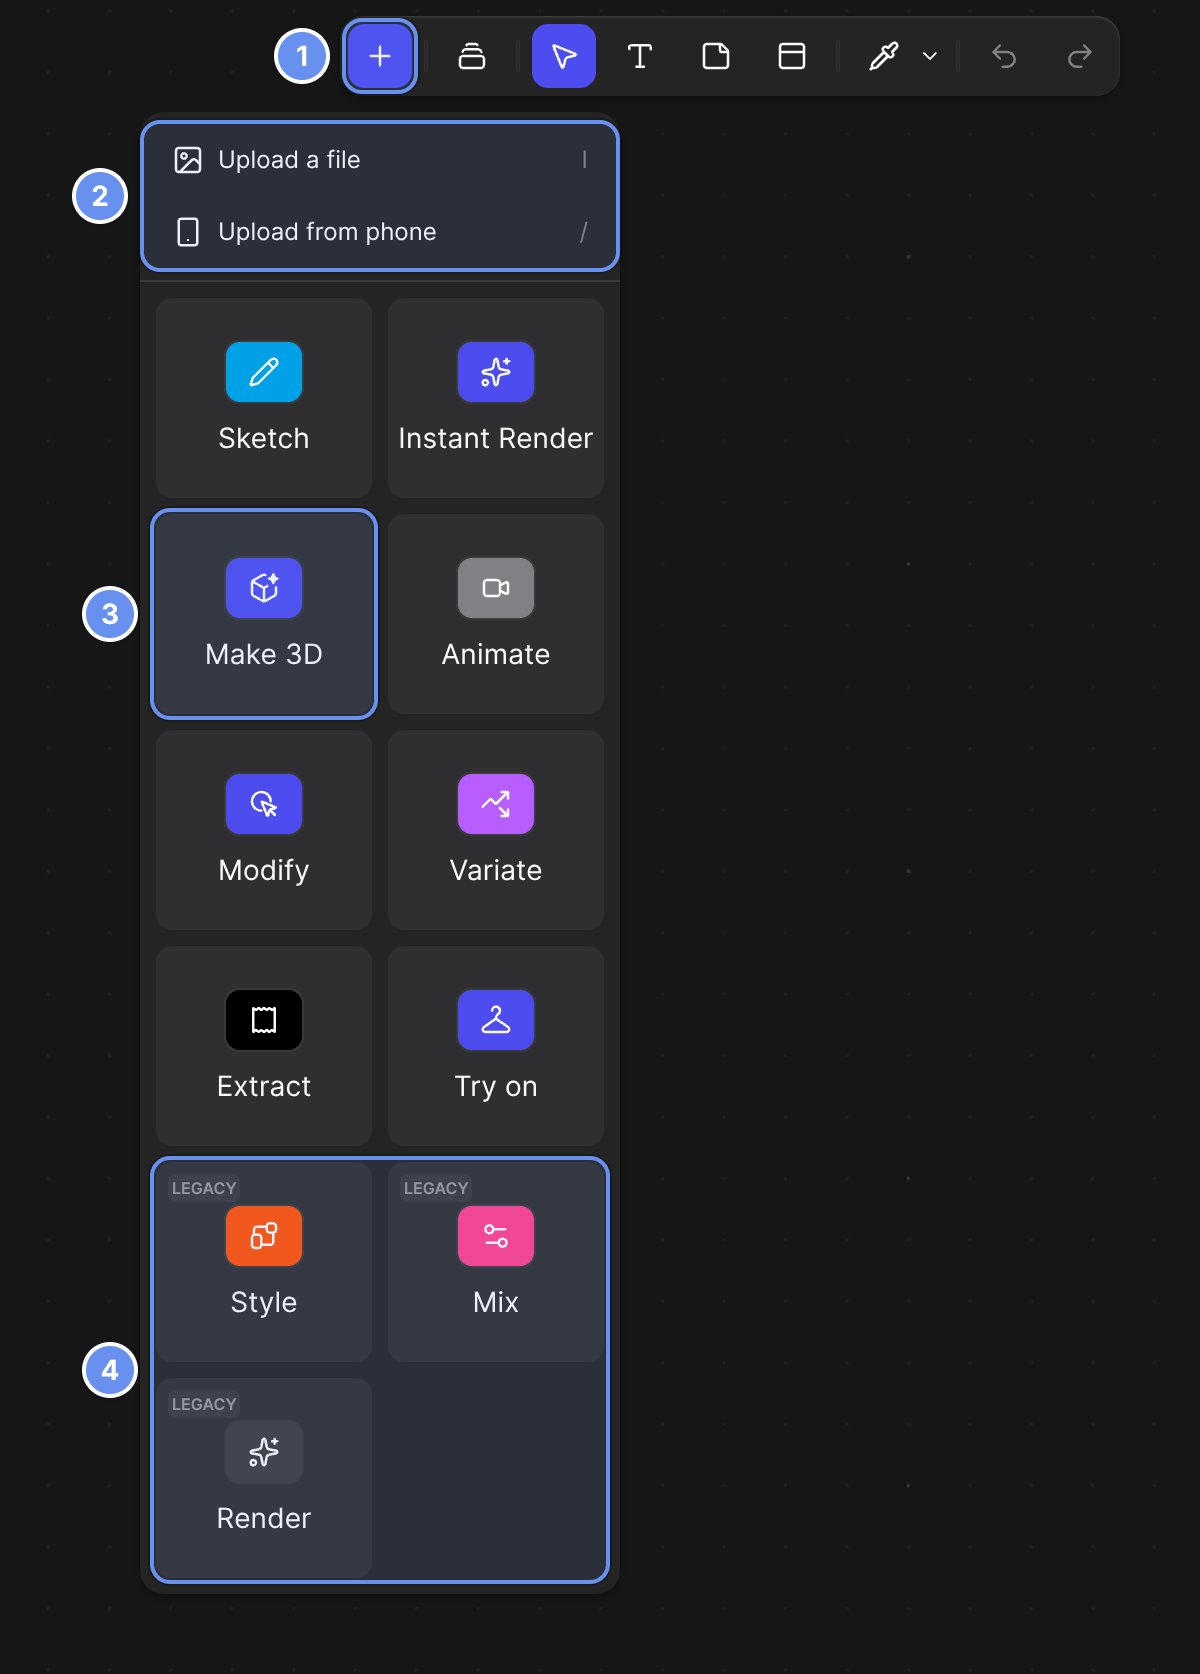
Insert (+) (1): uploads (2), Make 3D (3) and legacy blocks (4).
- Connect: drag an image onto a block, or drag a line from its +.
- Disconnect: hover the line and click −.
- Generate: click the block’s arrow. Jump to finds results outside your view.
- In Modify, the last connected image sets the shape when Aspect Ratio is Original.
Work with what’s on the canvas
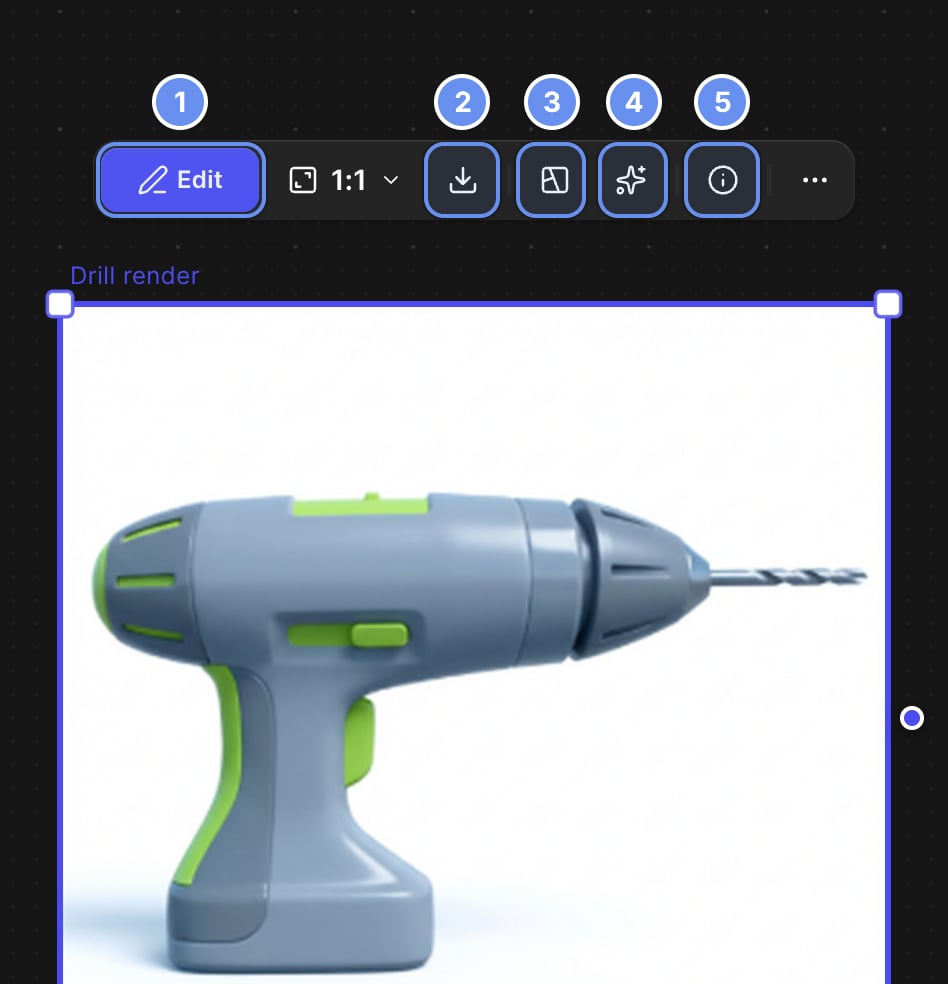
Edit (1), Download (2), Create Region Map (3), Quick actions (4), Show image details (5).
- Select several: drag a box or Shift-click, then click Arrange to tidy them into a grid.
- See how an image was made: click Show image details 5, then Copy prompt to reuse it.
- Group items: select them and press Shift + S for a section. Right-click a section to export everything in it.
- Add a color swatch: right-click the canvas > Add color, or paste a hex code.
Tidy up the view
In the menu 1 > View, untick Show action blocks and Show connection lines for a clean board. They come back when you reload.Related
Workbench and Studio
When to use each editor.
Modify
The block you’ll use most.
Workbench reference
Every menu and right-click item.
Keyboard shortcuts
Every key in both editors.