When to use Render Styles
Render Styles are ideal for designers, illustrators, and product creators who want control over the visual direction of their renders. With a library of styles ranging from clean studio renderings to bold stylized aesthetics, you can tailor outputs to:- Highlight product detail and material realism
- Explore different artistic or conceptual directions
- Match visual outputs to brand or project aesthetic goals
- Communicate design intent clearly to teammates, stakeholders, or clients
How to use Render Styles
1
Open Render Mode
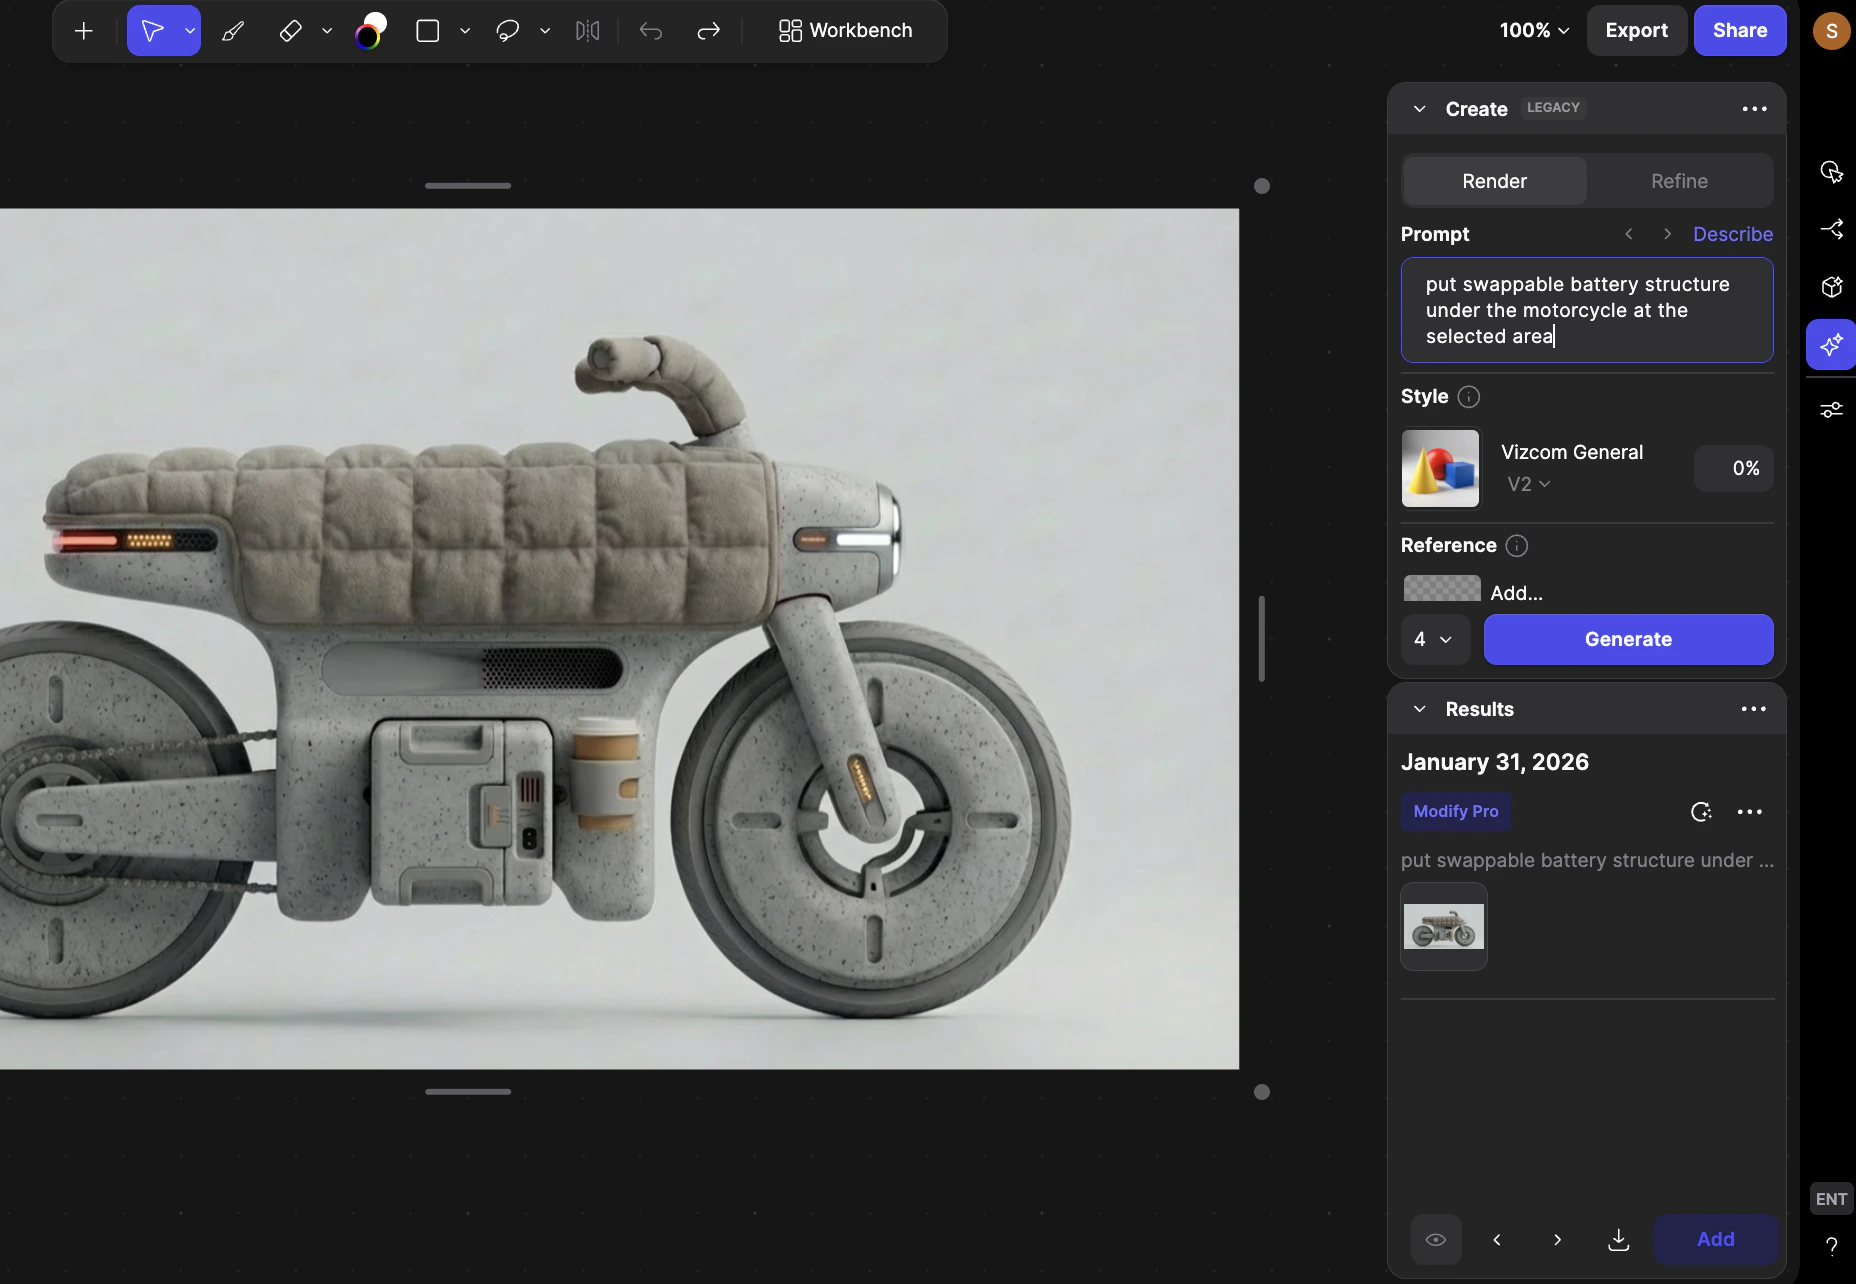
2
Locate the Style / selector
3
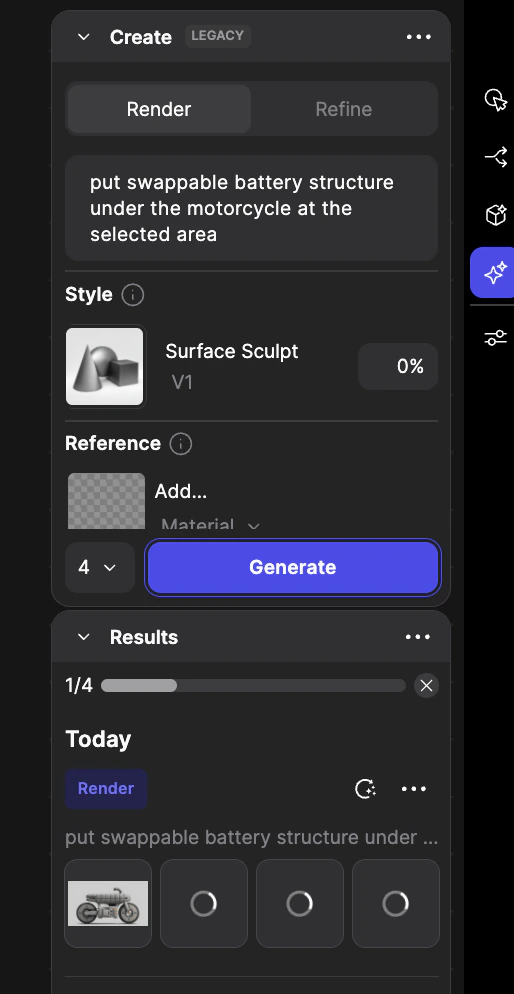
Choose the Render Style
4
Adjust influence

5
Generate your render
Click Generate. Vizcom will produce an image using your selected style and influence settings.
Render Style Categories & Examples
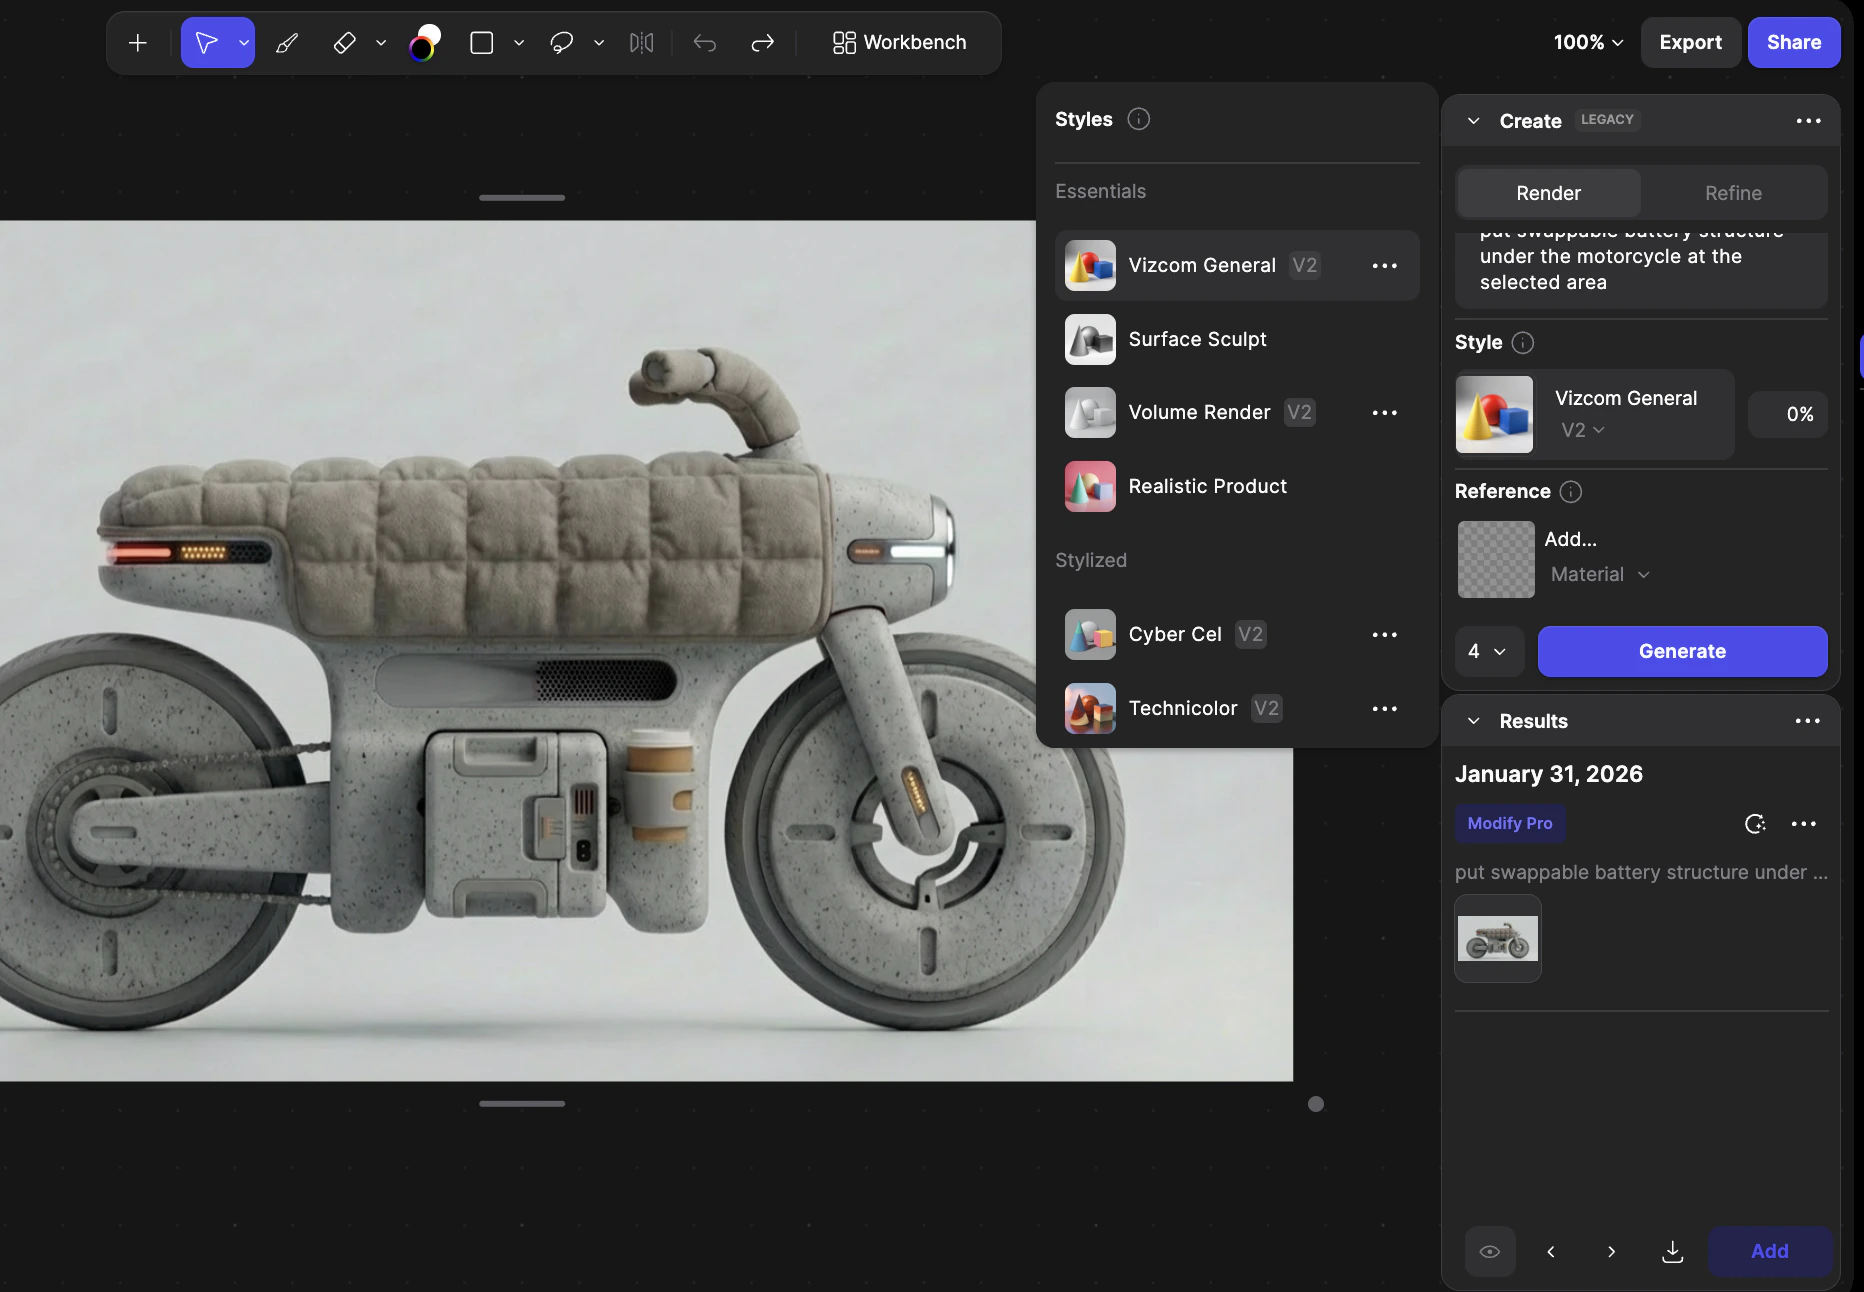
Essentials
These are broad-use, versatile styles useful across many domains:- Vizcom General: Balanced, photorealistic rendering with creative flexibility.
- Surface Sculpt: Clean, dynamic surfaces ideal for fluid form studies.
- Volume Render: Emphasizes depth and form without distracting elements.
Stylized
Render with distinctive artistic character:- CyberCel: Vibrant flat colors, bold outlines.
- Technicolor 6: Futuristic, high-contrast, concept art vibe.
- Pastel Render: Soft, soothing color.
Industry-Specific
Tailored for particular design domains:- Automotive Exterior – Emphasizes shadows and reflections for car designs.
- Automotive Interior – Focuses on texture, lighting, and space.
Tips & FAQ
FAQ
- Can I combine multiple styles?
Not in a single generation, but you can use inpainting selections to render different parts of a design with different styles, then merge them. - Will styles affect the geometry? Styles mainly affect visual aesthetics lighting, color, shading, not the actual 3D shape or geometry of models.
Stylized s have a strong aesthetic direction and may not follow color prompts as literally as more general styles.
Next Steps
- Experiment with styles — Try different style categories to find the one that best fits your project’s visual goals.
- Use Reference Images — Combine styles with reference imagery for more nuanced visual influence.
- Explore Creation — Soon you’ll be able to create custom s tailored to your brand.
- Try Refinement — Use Refine mode with your chosen style for higher detail and polish. \